...you're sure of a big surprise! Mushroom season is upon us and some great photo opportunities if you know how to make the best of them. When Matthias came down to visit and shoot last weekend (mate, you've got to get a webpage up so that I can link to your great images), one of the things I was excited about was getting round to a good mushroom shoot. There's a really easy trick-shot with mushrooms if you know what you're doing. Matthias was complaining about the lack of suitable woodland where he lives in the north east of Bavaria near the Czech border and I blindly boasted that we had a great little woodland at the bottom of the village that was sure to have a great supply. Fortunately my woods didn't let me down, quite the reverse, they did me proud.
 |
| Lantern Mushrooms || Olympus 47 mm, f/11, 1 s, ISO 200 |
I'll share at the bottom the technical details of how to pull off a shot like this - it sounds more complicated than it is, honest!
In the meantime I'll just dump a number of the other photos from our session here without much explanation in between. My go-to aperture with my Olympus Zuiko 12-100 zoom is f/8 - it's a great compromise between image quality and depth of field. Because a lot of these images were taken at relatively short distances, where depth of field shrinks to virtually nothing, I stopped down to f/11 in the hope of increasing the amount of each photo that was in focus.
 |
| It's Not Just Mushrooms || Olympus 92 mm, f/8, 1/2 s, ISO 400 |

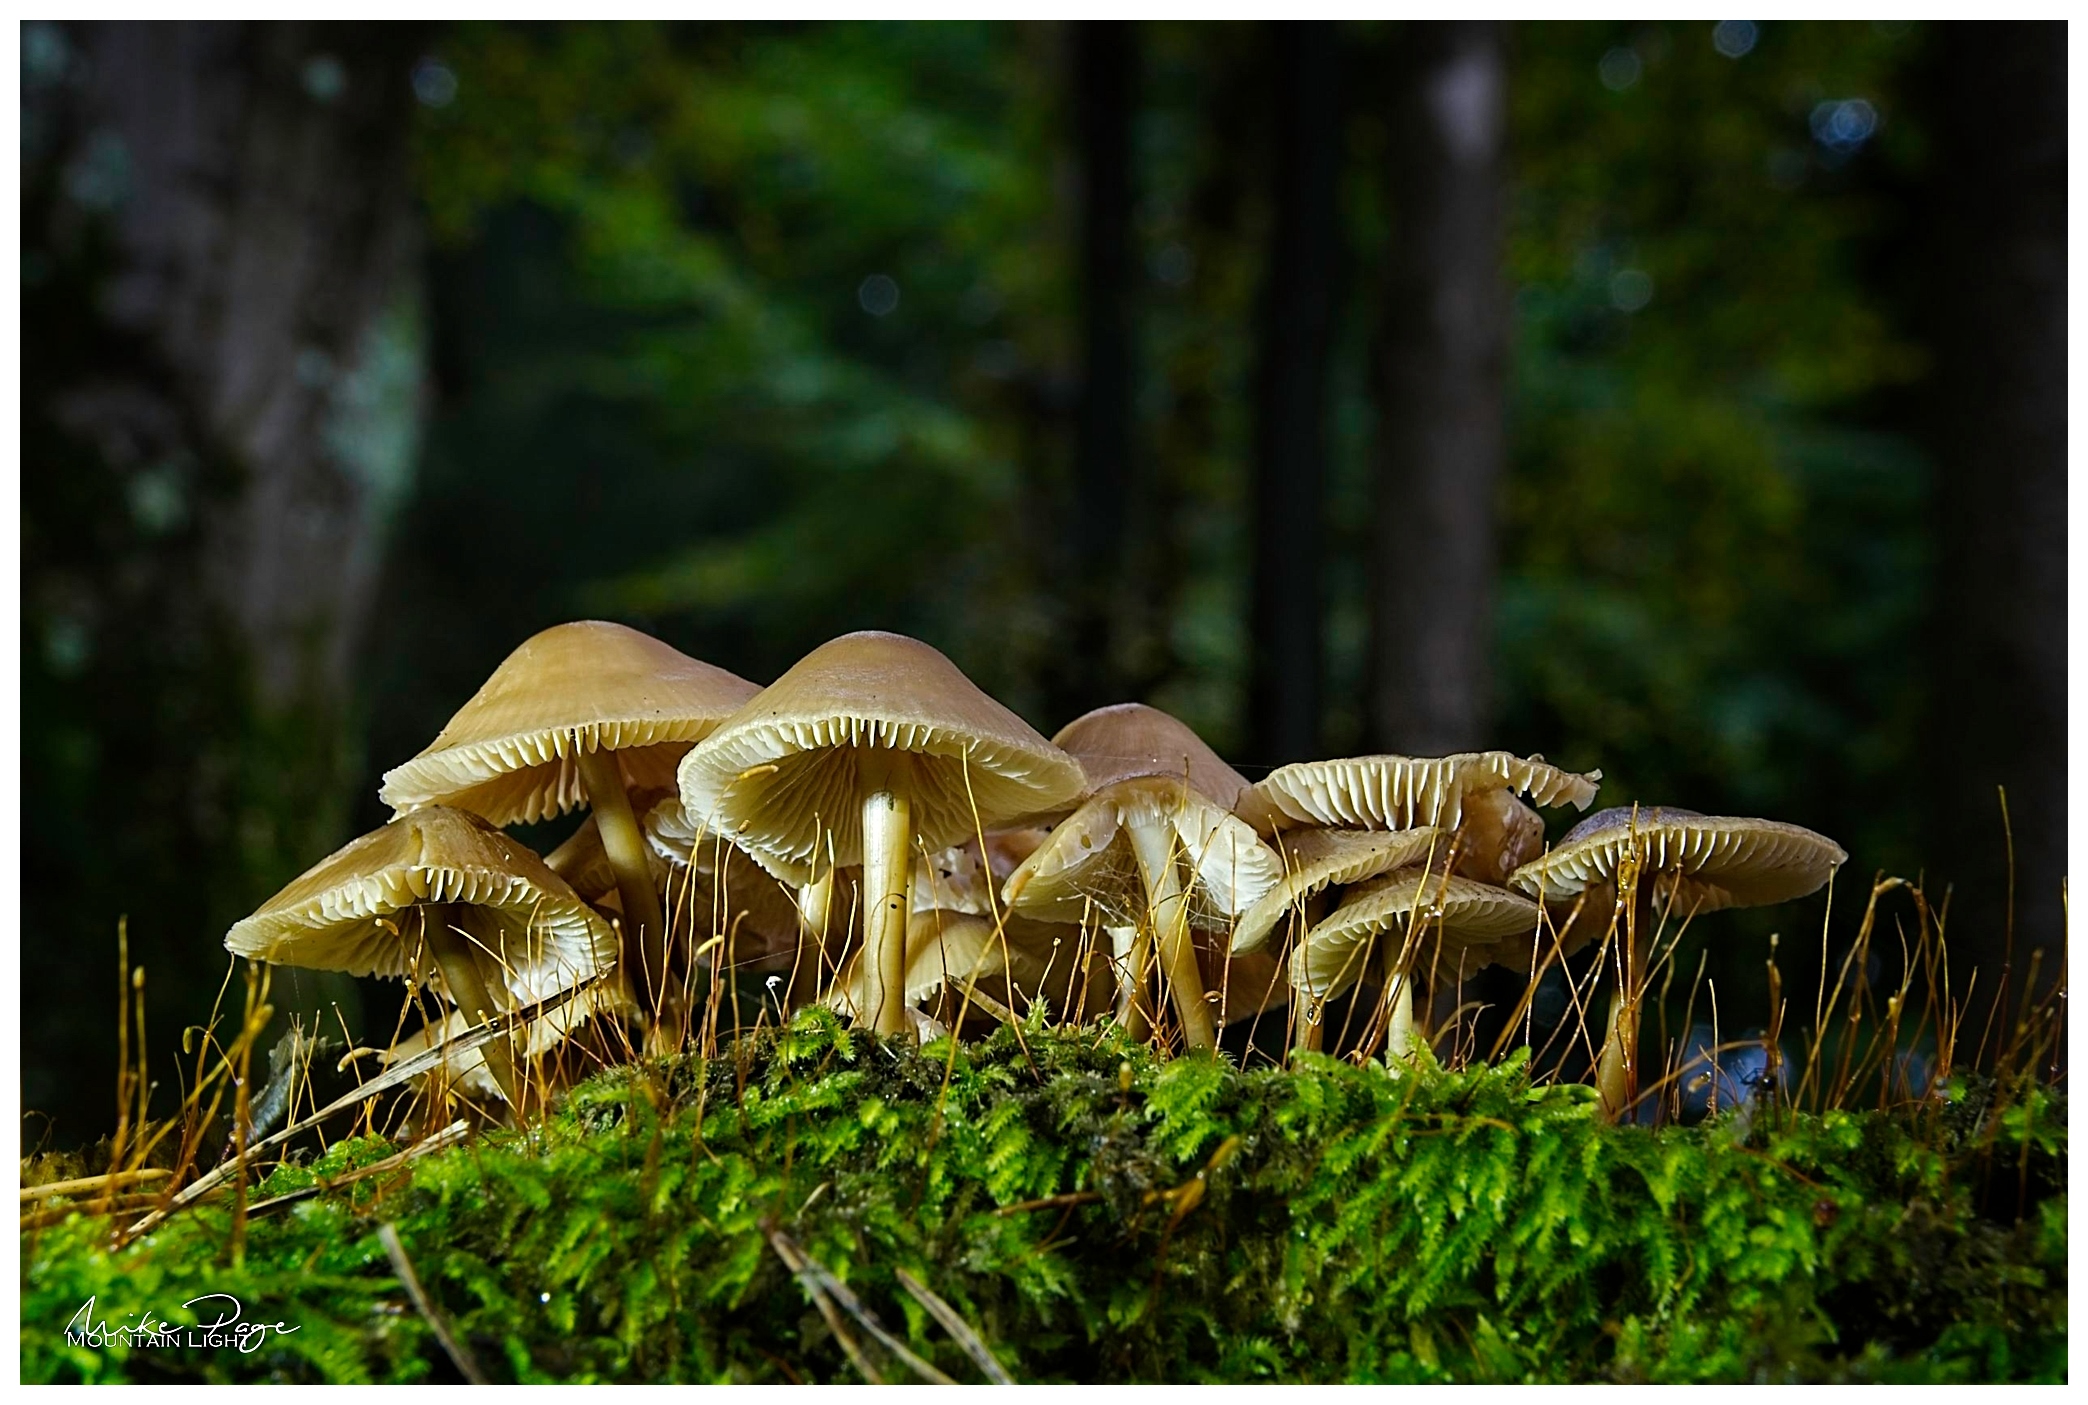
 |
| Huddled Close || Olympus 47 mm, f/11, 1 s, ISO 200 |

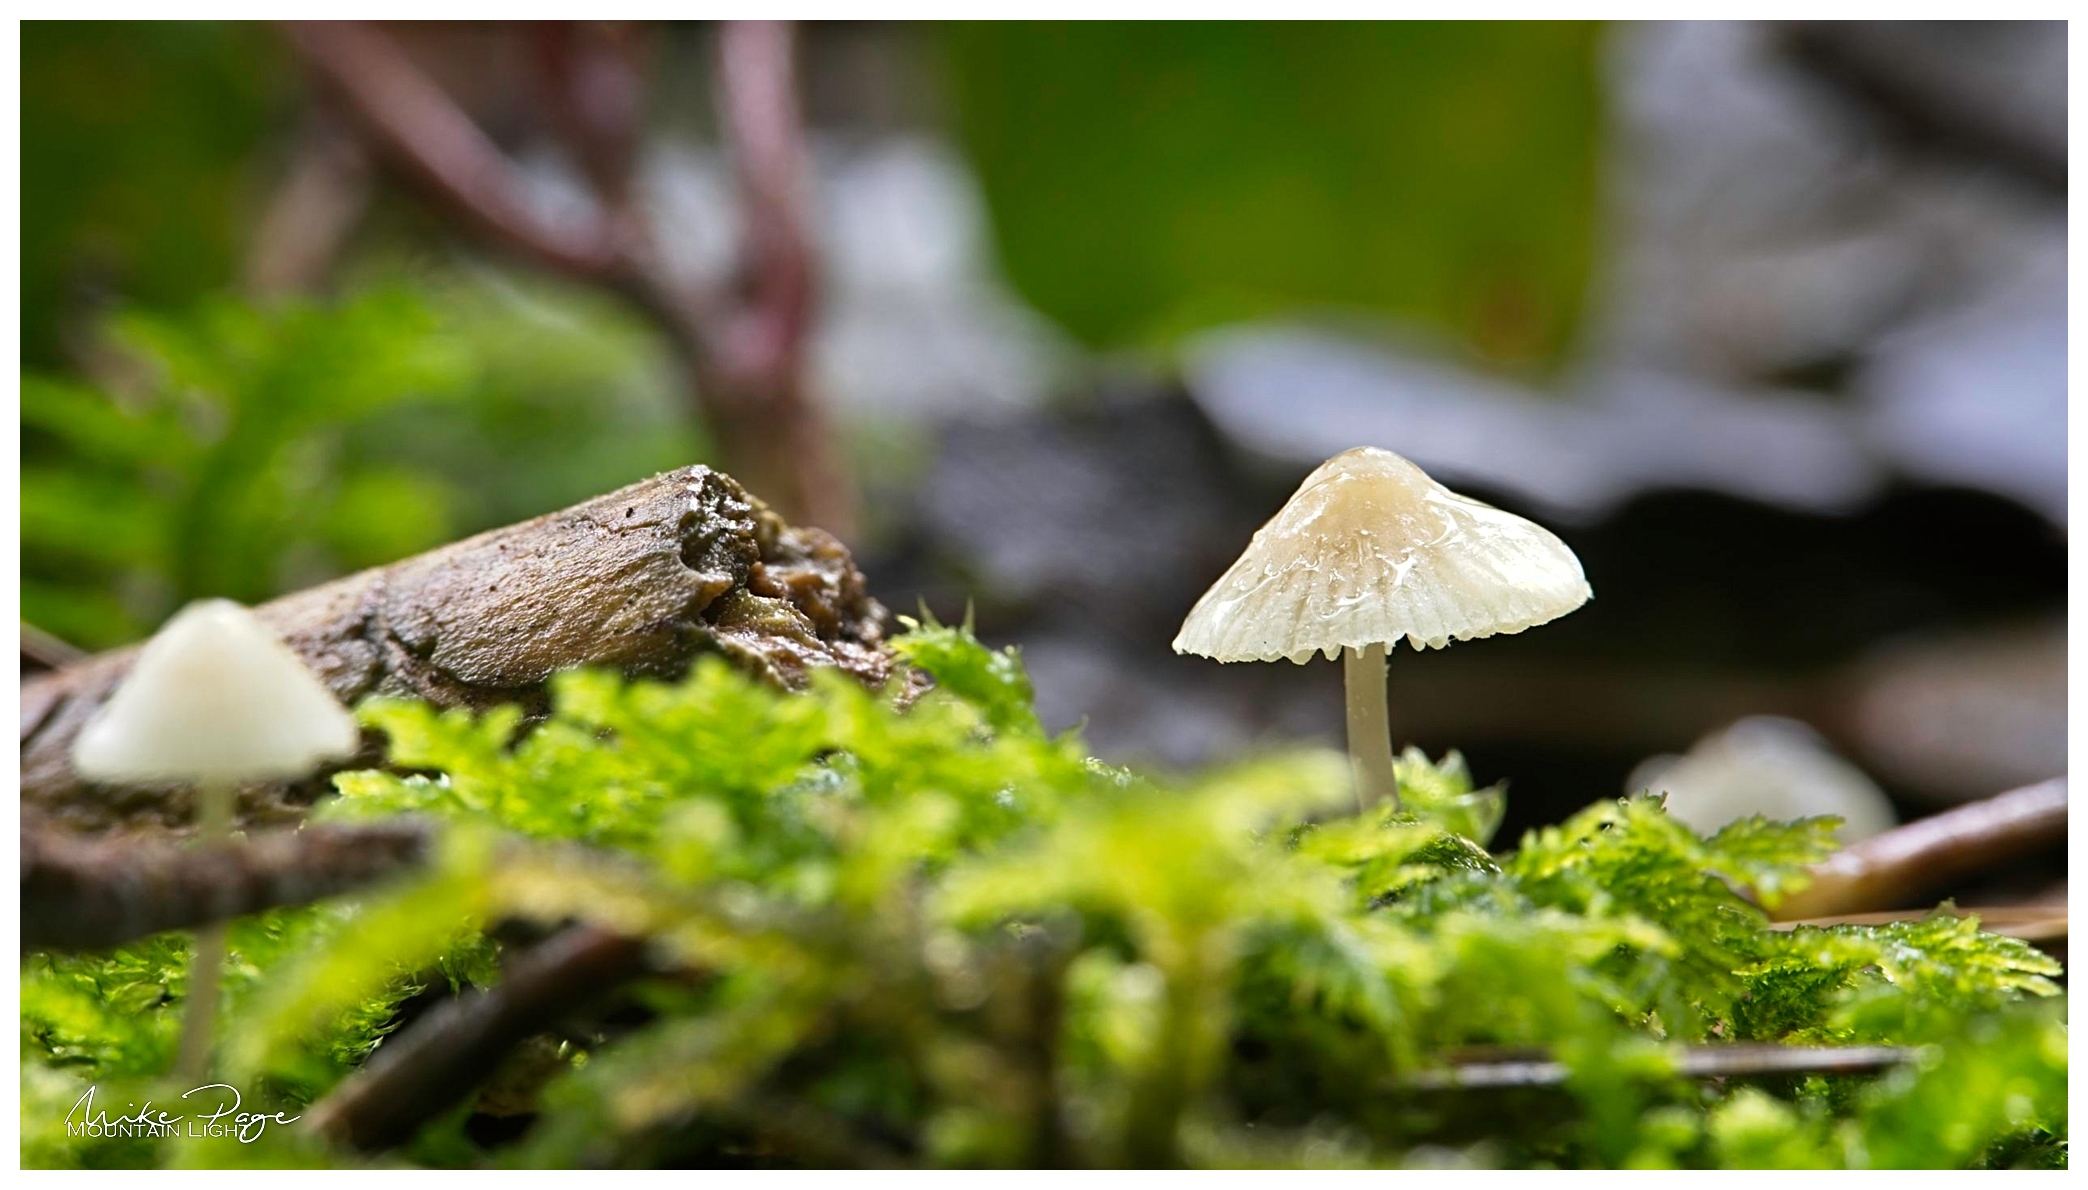 |
| The Little Things II || Olympus 47 mm, f/11, 1/2 s, ISO 200 |
The mushrooms in the above two images were so small that I wouldn't have spotted then if hadn't been for Matthias' eagle eyes. The tops couldn't have been more than 5 mm across. To be able to get close enough I had to screw the +3 diopter magnifying filter on to the front of the lens and lie down on the moss.
 |
| Narrow Focal Plane is a Challenge || Olympus 41 mm, f/11, 1/5 s, ISO 200 |

 |
| And Without Illumination || Olympus 28 mm, f/11, 1/4 s, ISO 200 |

 |
| Twin Caps || Olympus 31 mm, f/11, 10 s, ISO 200 |

I was really proud of this image, showed it to my wife Sharon and she just burst out laughing. Piqued, I asked her what was so funny, and then she pointed out the googly eyes above the left mushroom. Fair point.
 |
| Where the Fairies Live I || Olympus 44 mm, f/11, 4 s, ISO 200 |

 |
| All in a Row || Olympus 92 mm, f/11, 3.2 s, ISO 200 |

 |
| B-Shot || Olympus 100 mm, f/11, 2 s, ISO 200 |
Just to show that it doesn't all go right. Sometimes the depth of field is too shallow for a decent shot...
How It's Done
These illuminated mushroom shots are super impressive and quite easy to do with minimal equipment. All you need is:
- a suitably patient patch of mushrooms
- a camera - preferably one with a manual mode
- a tripod or other means of keeping the camera absolutely still for two shots (though as Matthias shows below, putting the camera on the ground is enough too, you just need to be absolutely sure it doesn' move between the two shots)
- a light source (torch, smartphone or in our case Lume Cubes)
- software that can deal with layering two photos over each other
 |
| Setting up the shot |
The procedure in the field (forest?) is relatively simple: set up the scene, making sure you get low enough - you're going to get dirty knees whatever, so you may as well get used to that - the angle has to be below the gills so you may have to find some mushrooms on a log. Watch out for the background - it's easy to focus so intensely on the thing in front of you that you blend out horrible stuff in the back.
Set the camera in manual mode, you'll want a relatively low aperture - say around f/11 - unless you focus-stack depth of field is going to be a challenge because we're dealing with close-up photography and then set up the shutter speed - it doesn't have to be fast because the camera is fixed. Your camera should show you what is a good shutter speed, though at this stage it doesn't hurt if you deliberately underexpose by anything up to a stop - generally shown as EV setting at the bottom of the display. If you have the option and feel confidant about doing it, I would strongly recommend that you focus manually too; the scene in front of the camera is likely to be very 'busy' and the camera can't read your mind - it doesn't know exactly which aspect of the scene you want to have in clear focus.
Take the starting shot, preferably either with a remote or a 2 s timer so you don't introduce unnecessary camera shake.
Then take your light source, hold it over the mushrooms and take your second shot. The brightness and distance are both matters for experimentation. Thicker mushrooms will require you holding the light closer so that you can see the light shining through the mushroom gills. Check your second exposure that it's not over-exposed and if it is, repeat with the light dimmer or higher up. Rinse and repeat as necessary.
Now you should have two shots which are properly exposed, properly focused and identical except for the light. Now comes the software bit.
 |
| Base exposure, illuminated exposure and final blended image |
Exactly how you blend the images will depend on your software. I use a processing program called ON1 Photo Raw that lets me layer the photos and then determine which parts of which photo appear in the final image. This can be a bit fiddly but is worth spending time on to get it right. Defining which parts of which photo shows uses a mask - a black/white/grey layer that dictates which part of an image show and which are concealed. In this case I had the lighter image as the top layer and used the mask you can see below:
 |
| The mask, I've elected to completely mask out the tops of the caps and then have a gradient of light bleeding off into the darker image |

The rest is increasing the colours and getting the shading right.
No comments:
Post a Comment