Showing posts with label long exposure. Show all posts

Saturday 6 November 2021

Five Days Cinque Terre

I think most of us start off as opportunistic photographers and end up slowly transitioning to intentional photography. What do I mean by this? Most people's first foray into photography is whilst doing something else; being with someone special, at a concert, on a beach experiencing a cool sunset, exploring a new city, on a hike in the mountains, etc. We come across a scene that looks amazing and want to capture it either as a way of reminding ourselves of the moment at a later date or to show it to someone who wasn't there (though we know that it's not always straightforward translating a powerful scene  to a good image - see here). Whilst doing something else, we sense an opportunity for a good photo and capitalise on it. Intentional photography involves setting out with the intention of obtaining a certain image or type of image and requires planning and the right conditions. 

Riomaggiore Harbour || Olympus 13 mm, f/8, 1/60 s, ISO 200
Over the last year or two I've been sensing a transition in my own photography from the opportunistic to the intentional, not that there's necessarily anything wrong with the opportunistic shot. I suspect that there will always be an element of this in my photography simply because of my mountaineering. Days out photographing with my friend Matthias, purposeful trips down to Raisting or even down to the local woods to find mushrooms in autumn are intentional forays and I'm finding these to be increasingly rewarding as I better understand the conditions necessary to get better pictures. Good photos require several elements; a solid composition, the right light and, if there going to be great photos, even a bit of drama. Opportunistic photos usually only involve the first aspect, and the second if you're lucky. Intentional photos more often combine composition and light. If you persevere and wait for the drama, they can become great:

Opportunity: Riomaggiore harbour front || Olympus 14 mm, f/7.1, 1/800 s, ISO 200

Intention: The harbour front in late afternoon light || Olympus 8 mm, f/8, 1/500 s, ISO 200

Drama: shooting the harbour front in the blue hour || Olympus 18 mm, f/16, 2 s, ISO 200 
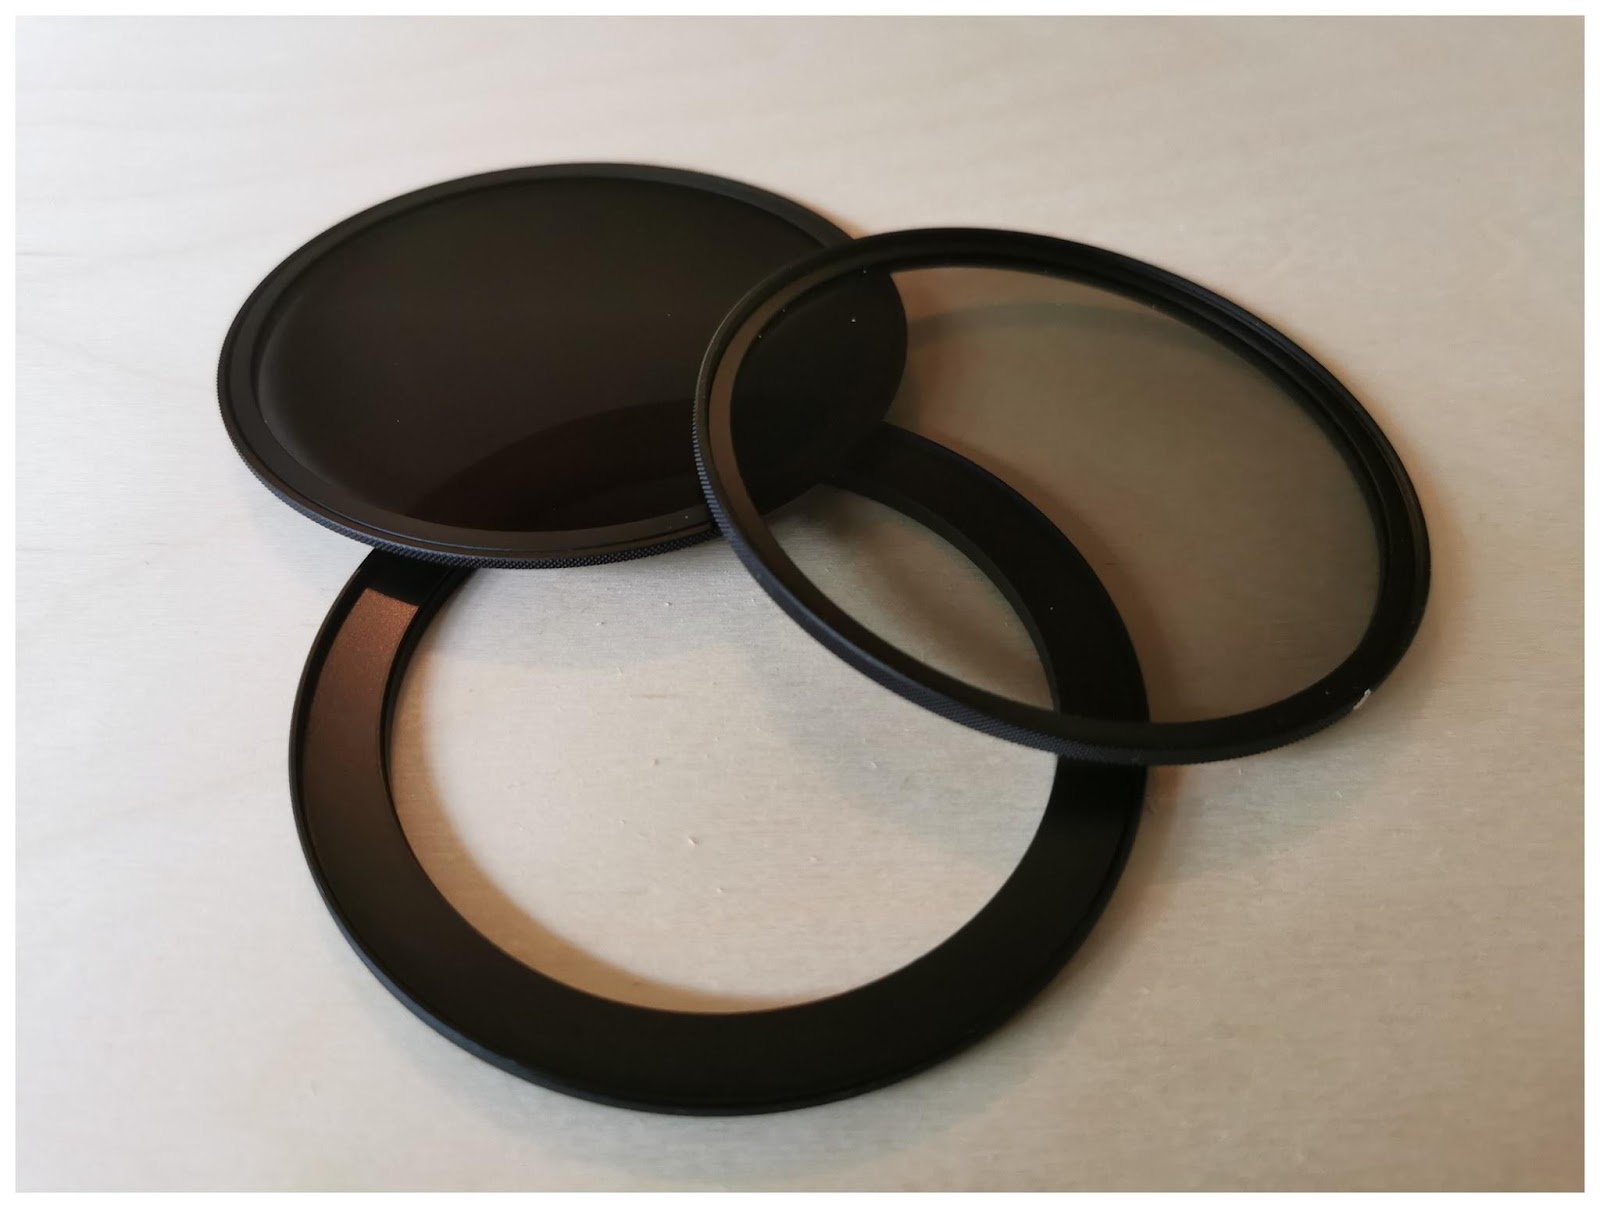
Stopping down the aperture to f/16 on the M. Zuiko f/4 12-100 let me get some neat starbursts on the lights; probably not to everyone's taste, but it's handy to know how to achieve this effect in camera. A friend accused me of having applied the effect in post, but it's not the case, in fact I did a quick aperture series in order to find the best settings. It can also be tricky balancing the bright lights with the ambient light, so it might be necessary to exposure bracket a scene like this.

This is beginning to feel like big-boy photography. We should have been on a pilgrimage in the second half of October, but, well, you know... So instead we had two weeks free that had to be taken - we've accumulated too much leave over the last year or so and there's only so much we can carry over. After spending the first week at home in Bavaria, for the second week we headed down to the Cinque Terre region of Italy for a week's hiking and photography. Why did it feel like grown-up photography? Read on.

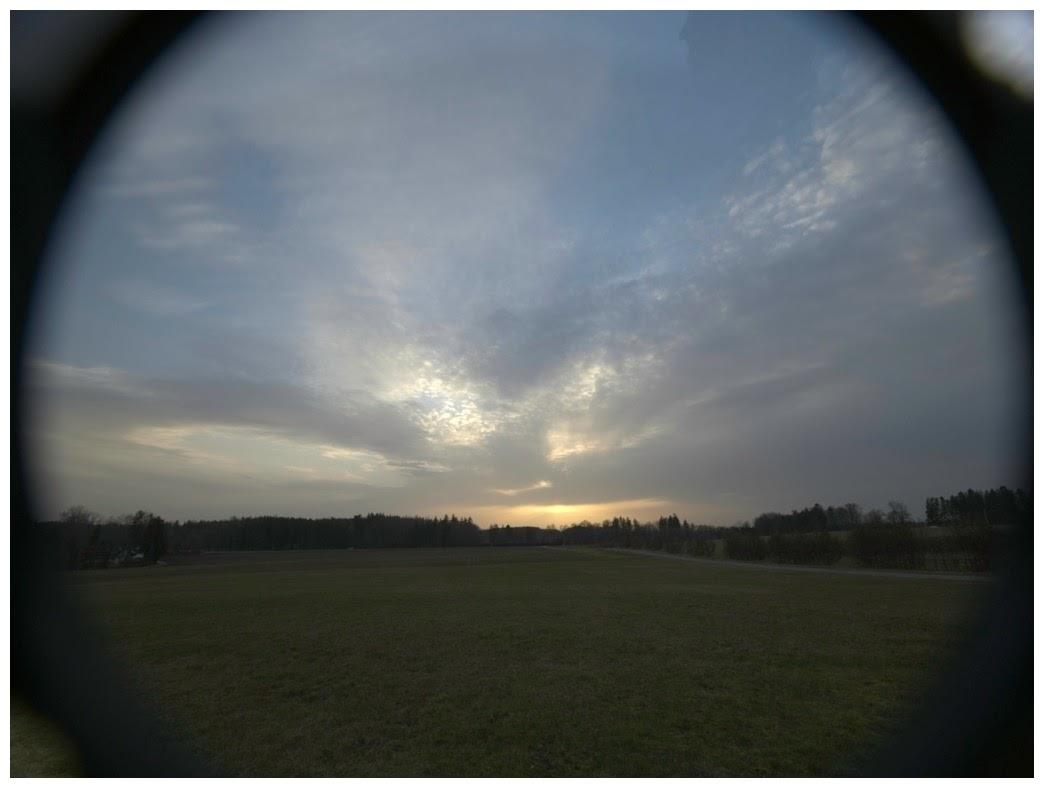
Trees on the horizon || Olympus 100 mm, f/8, 1/25 s, ISO 200
The photography felt a lot more purposeful in the five days we spent on the trails up and down the coast. Sure, we took a load of opportunistic shots during the day, but we were deliberately looking out for compositions that would work at sunset and in the blue hour. Being west-facing, the picturesque villages really come to life in the evenings. The train line that runs between the villages makes this sort of photography dead easy, especially when the days are shorter. Each village is only 2-5 min from the next and the service runs pretty much every 20 min through the day, becoming less frequent after about 9 pm.

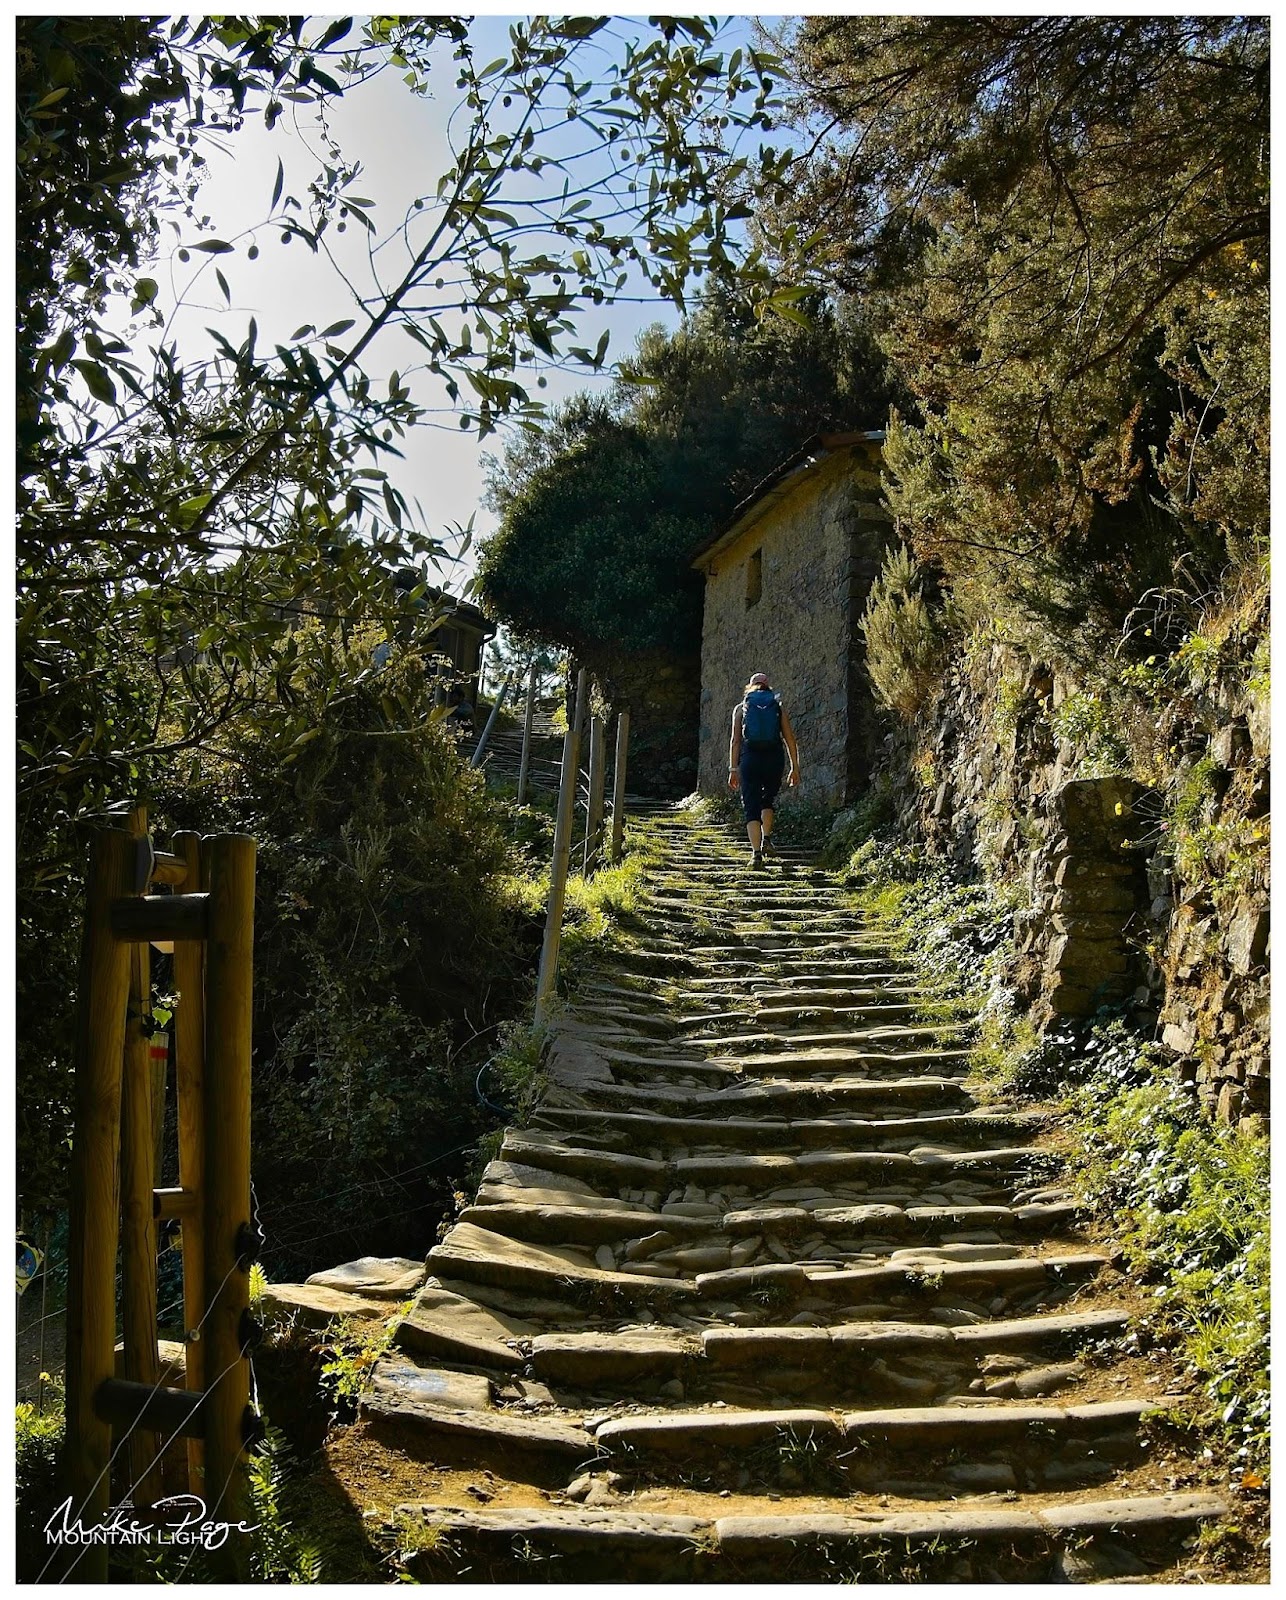
Steps, steps and more steps... || Olympus 12 mm, f/8, 1/6 s, ISO 200
We were staying in Riomaggiore, the southernmost of the Five Territories. Travelling between the villages by road is virtually impossible. The best ways to get from one to the other is by boat or by train - there's a line that stops in each of the villages connected by tunnels and terraces above the rocky coast - but the best way to to take in the views is on foot. There's a coastal path between all of the villages. Unfortunately, the path between Riomaggiore, Manorola and Corniglia is under repair at the moment and what would otherwise be a 20 min jaunt along the coast is presently a 60 min, thigh-killing trek up hill and down dale.

Arriving around 5 pm on the first day we found our Airbnb apartment and proceeded to explore the village as the sun was setting. 

Sunset in Riomaggiore || Olympus 12 mm, f/8, 1/15 s, ISO 200 

Riomaggiore Harbour at Sunset || Olympus 12 mm, f/5.6, 1/2 s, ISO 200
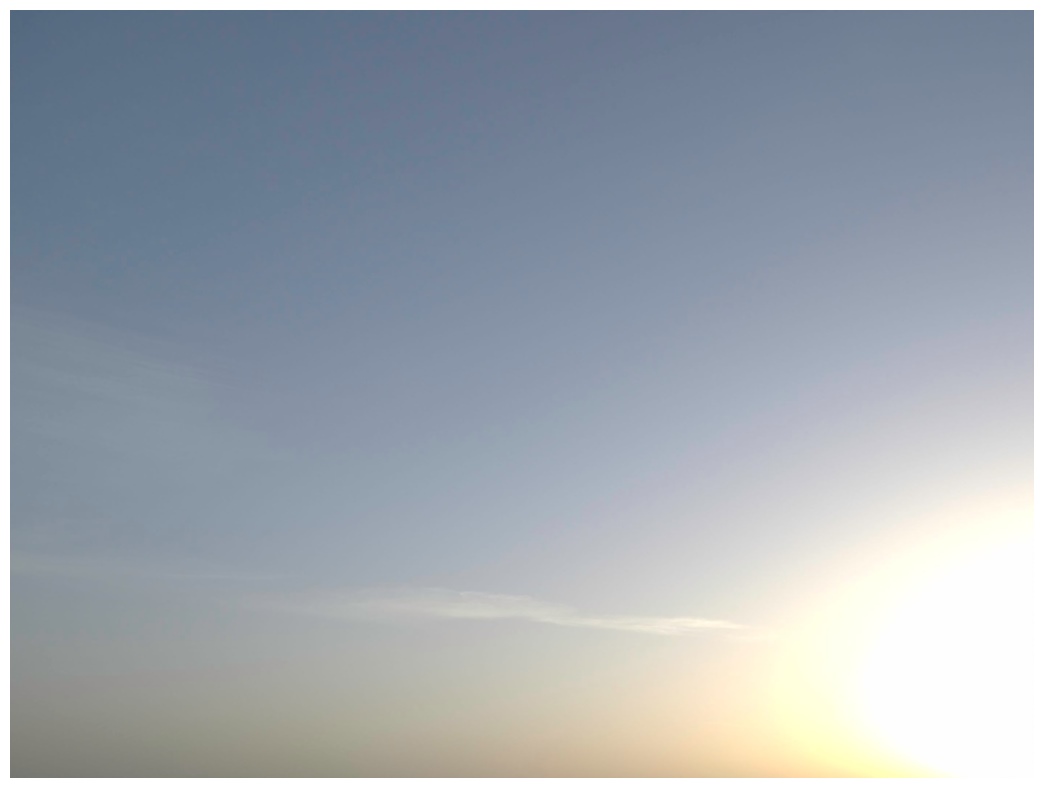
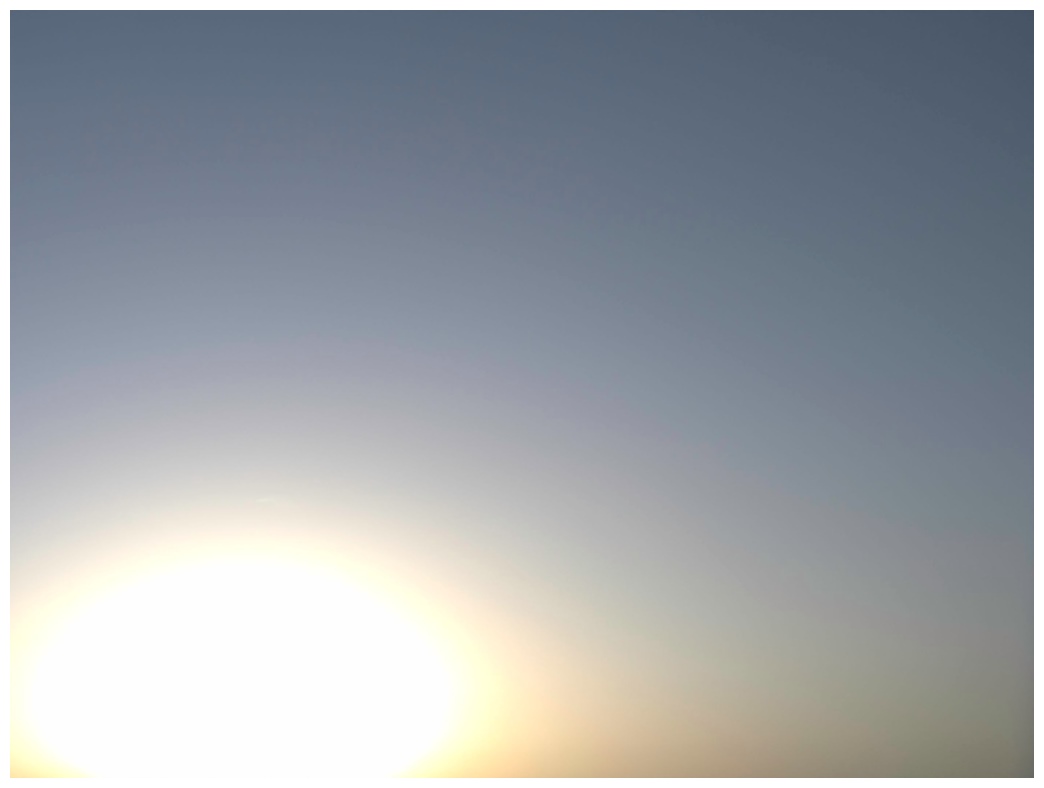
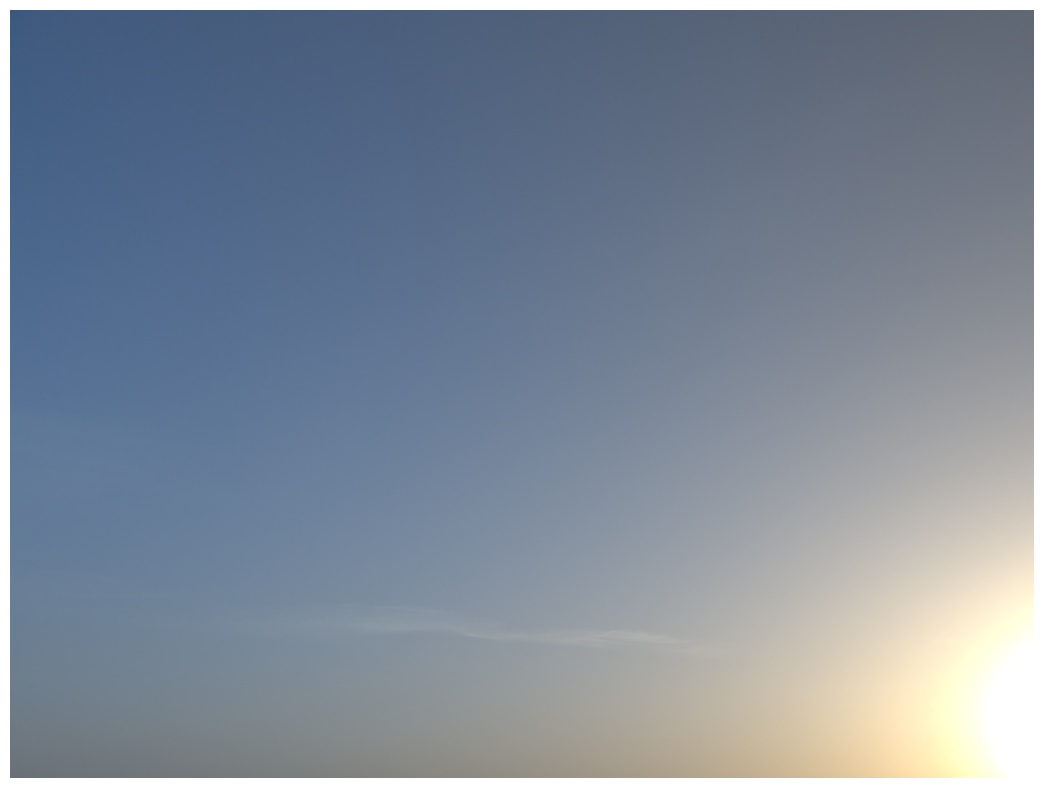
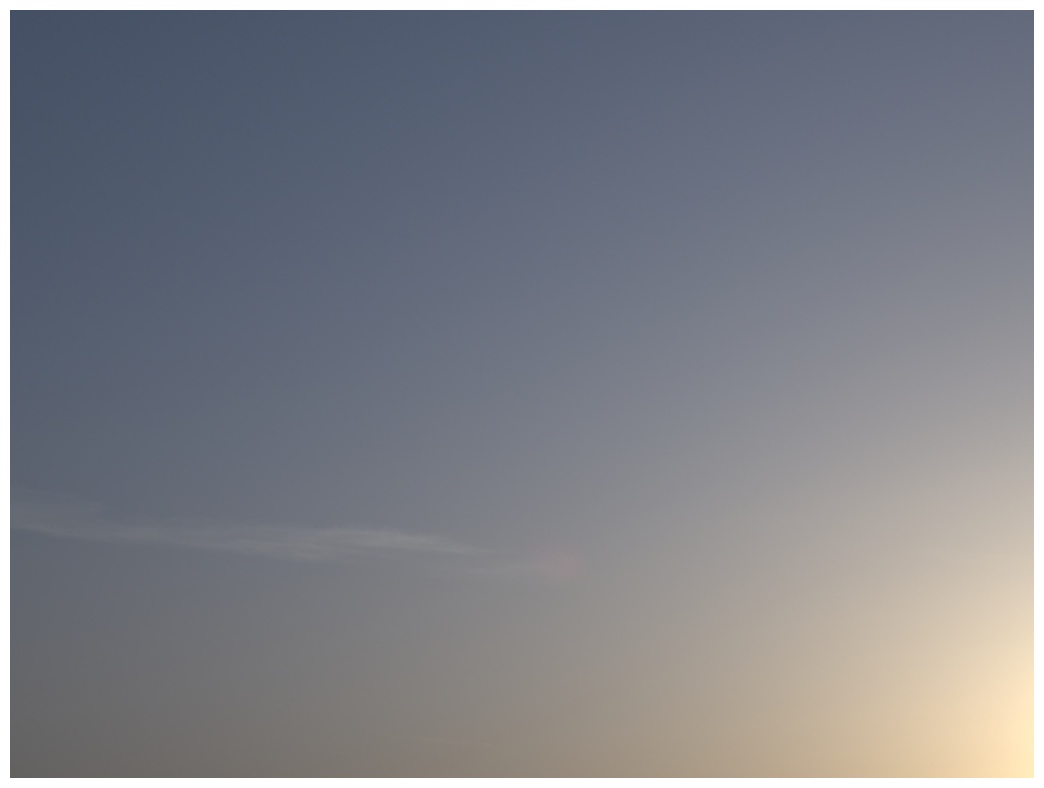
Day one saw us taking the train two stops down the line to Corniglia, the only one of the villages not directly on the coast, and trekking over to Monterosso via Vernazza. The first leg takes you via the highest point on the Cinque Terre trail; Bar Il Gabbiano. Looking back along the trail that we had come from I noticed that we could see both Corniglia and Manarola and made a note of the place as a potential site for an evening shot. This wasn't a view that I'd seen in other photos from the Cinque Terre. I did take the opportunistic shot in the midday light, but it's not worth posting here. But we did come back for sunset and blue hour later on. There are a lot of things that could be done with this scene; zoom out to catch the larger scene or reduce it to the simple elements of the villages in the evening light. Both work, but I'm trying to focus on the 'less is more' principle, reducing photos to the elements that are actually important to a scene. With a sky like this though it's quite difficult to resist taking a wider angled shot.

Corniglia and Manarola || Olympus 50 mm, f/8, 1/30 s, ISO 200

All the Sky || Olympus 23 mm, f/8, 0.6 s, ISO 200

Blue Hour over Corniglia || Olympus 57 mm, f/8, 4 s, ISO 200
We stopped for lunch in Vernazza before heading on to the northernmost village, Monterosso. Vernazza is definitely our favourite of the five villages, with a clear harbour including waterside restaurants and a more developed main thoroughfare. There are some nice views of the village from the approach to Vernazza from the south, though care needs to be taken not to give the tower room against the far shore, as well as from the wooded trek to the north. 

Vernazza between the Olive Trees || Olympus, 41 mm, f/16, 1/50 s, ISO 200
Getting the right evening light on Vernazza proved tricky, as even in late October the sun was setting too far north for the right light on the rocky outcrop. I've seen some good blue-hour compositions from this vantage point in the last couple of days though, so maybe it would have been worth waiting around for.

Vernazza in late afternoon light || Olympus 29 mm, f/11, 13 s, ISO 200

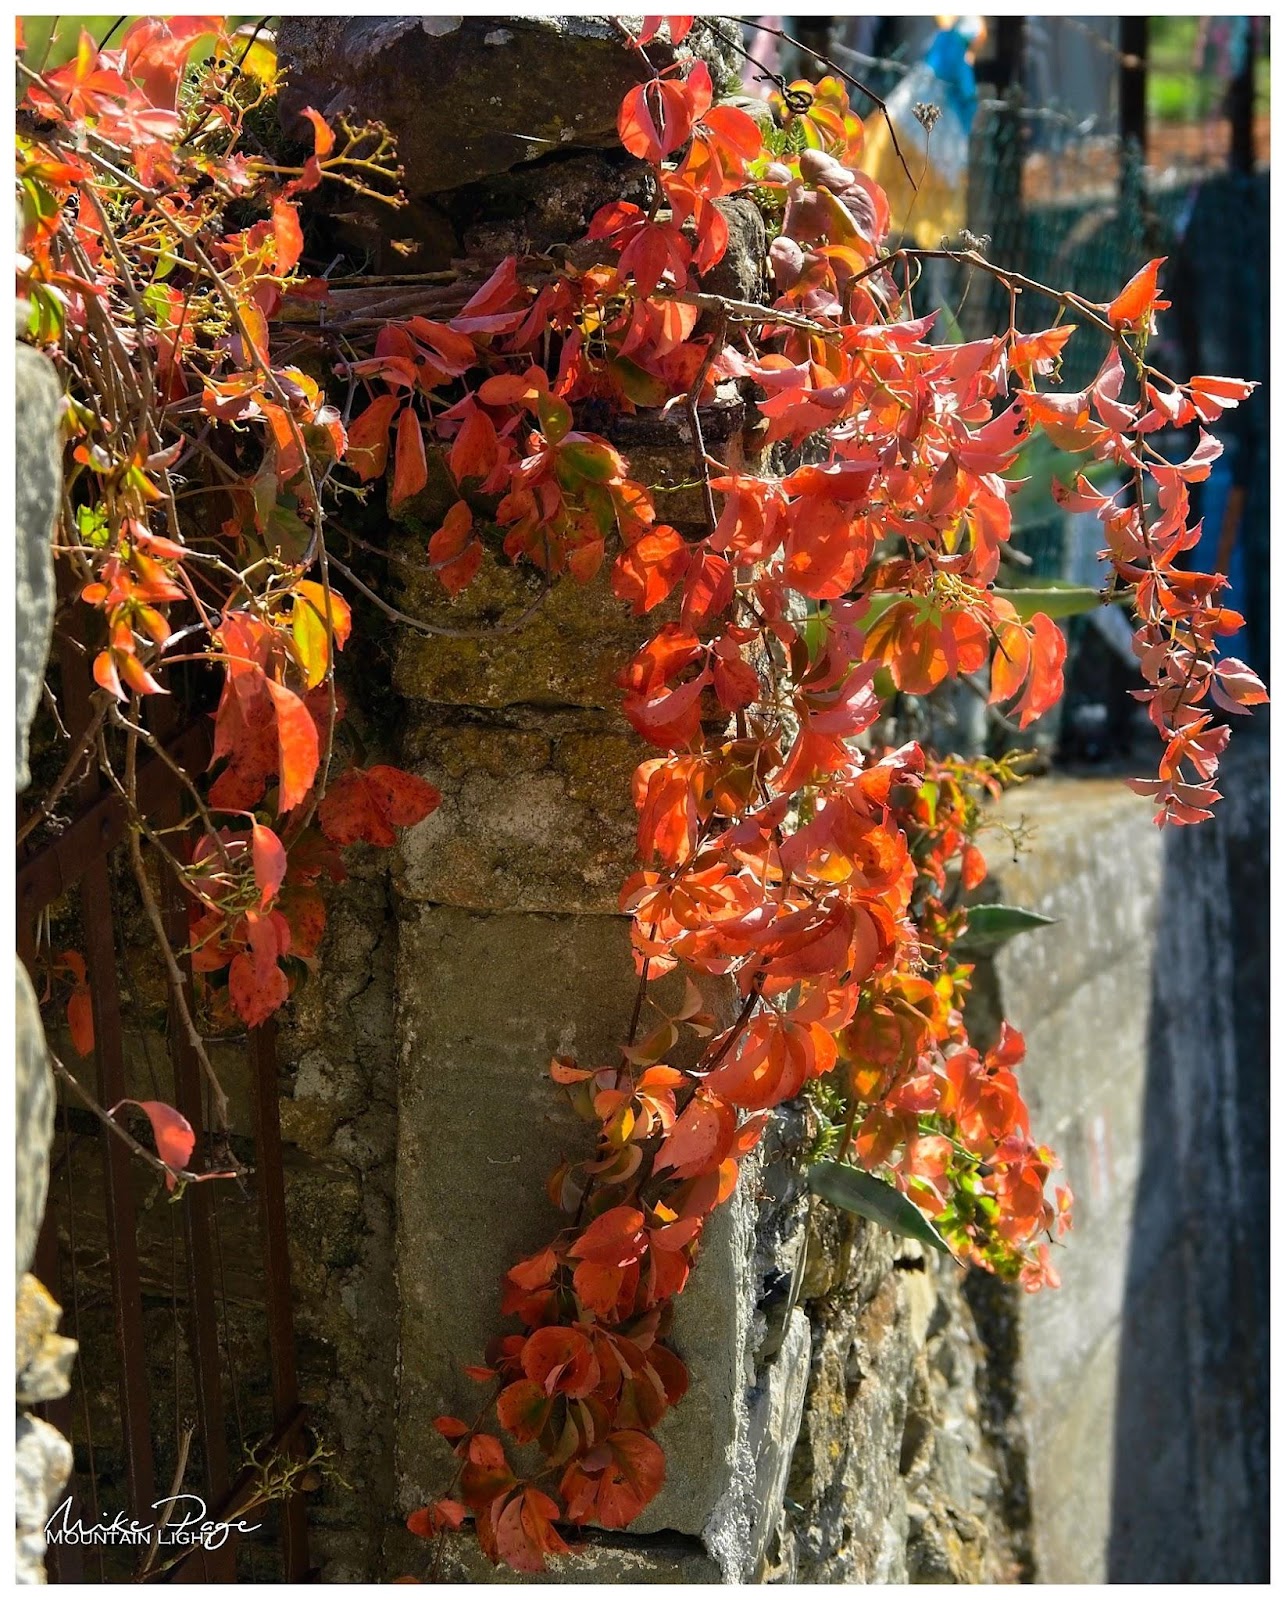
There's plenty of room for the more opportunistic and less light-critical shots under way through the olive groves and vineyards that cover the west-facing slopes, though the sun is never too high at this time of year, meaning that it's never too harsh. I don't have any clear rules when looking for images like this, though there are a few things that I always keep my eyes open for on trails like this; doorways and tree stumps are almost always worth a second glance, as are subjects with clear leading lines. 

Ancient Doorway || Olympus 20 mm, f/8, 1/4 s, ISO 200 

                                                                Snippets and Details

Day two took us to the trail from Riomaggiore to Corniglia through vineyards, giving us occasional glimpses of the villages below from Volastra. Normally this route would take you along the coastal path, but this is presently out for repairs meaning that we had to go up and over the hills each time. Having done the trek up and down from Corniglia to the station the day before, we made use of the combined train/bus/trekking ticket that I'd recommend to anyone exploring the area and took the easy route from the village centre to the station.

Vineyards above Manarola || Olympus 47 mm, f/16, 1/50 s, ISO 200 

Olives and Vines || Olympus 86 mm, f/16, 1/20 s, ISO 200 

Day three saw us taking the train up to Levanto beyond the Cinque Terre and hiking back to Monterosso over the headland before meeting up with Matthias in Manarola in the afternoon to take the classic evening shot of the harbour. We got away quite lightly - there are nightmare stories of photographers standing elbow-to-elbow at the railing overlooking the village. 

Could have been worse - shot on my Huawei P30 Pro

Whilst we were not alone, we were able to select the spots we wanted to set up our tripods without getting in too many peoples' way. Most only stayed for sunset, meaning that we were pretty much on our own for the interesting blue-hour.

16:28 Manarola I || Olympus 9 mm, f/8, 1/250 s, ISO 200 

17:09 Manarola II || Olympus 9 mm, f/8, 3.2 s, ISO 200

17:35 Manarola III || Olympus 15 mm, f/8, 2 s, ISO 200

17:51 Manarola IV || Olympus 15 mm, f/5.6, 2 s, ISO 200

At the risk of overloading you, I've deliberately included this series of shots from sunset into the blue hour to emphasise the role light plays and how quickly (or slowly) the conditions can change. This is another case of very intentional photography combining composition and light to arrive at a solid image. As I said at the very beginning, if you combine this intentionality with perseverance, you can move from good images to great ones, and I encourage you to visit Mattias' take on this scene a few days later in a stiff autumn storm on his Instagram channel.

Originally we'd planned to trek down to Porto Venere on day four and catch the ferry back, but after three days slogging up and down the steps between the villages we reckoned that we'd earned a slightly easier day and ended up taking the boat down to the tip of the peninsular to check out the options. We were pleasantly surprised with Porto Venere. I suspect that anywhere else it would be on the map of tourist destinations, but due to the proximity to Cinque Terre it tends to get lost among the other sights. The church of St. Peter on the promontory guarding the entrance to the town is particularly photogenic and we were able to grab some good images here as well as in the fortress overlooking the bay before taking the last boat back.

Chiese di San Pietro guarding the entrance to Porto Venere || Olympus 47 mm, f/8, 1/1250 s, ISO 200

Inside the church I || Olympus 28 mm, f/8, 1/3 s, ISO 200

Inside the church II || Olympus 20 mm, f/8, 1/5 s, ISO 200

Sailing boat from the Portico || Olympus 16 mm, f/11, 1/200 s, ISO 200

Light-balls through the Ruins || Olympus 92 mm, f/4, 1/1250 s, ISO 200 
I deliberately opened up the aperture for this last shot in order to achieve the light-balls on the sea - kind of the opposite to the starburst effect of closing the aperture down. As we all know, opening up the aperture (lower f-stop) reduces the depth of field for a given focal length and can be used to throw the background (or foreground) nicely out of focus.

The late afternoon approach to Riomaggiore gave us a different perspective on the village as we returned for our last sunset in the Cinque Terre, allowing a different take on the scene.

Riomaggiore from the water || Olympus 100 mm, f/8, 1/800 s, ISO 200

Sundown at Riomaggiore || Olympus 13 mm, f/8, 1/800 s, ISO 200

I'm not sure at this point whether we'll get back to Cinque Terre for another trip. I'd put it off for ages as the place is normally completely overrun. Being late in the season and without the intercontinental tourists it was very pleasant, but apart from missing a decent set of storm images I feel that I've done as much as I can there.

If you're ever interested on a 1:1 or 1:2 nature photography workshop, get in touch and we can work something out.


Monday 24 May 2021

Olympus IBIS + Kase Wolverine Filters = Dream Team

Oh, the best laid plans of mice and men... Originally we had planned to go up the Branderschrofen near Füssen today to scope some sites for the next astro shoot, but there's still a tad too much snow, the weather forecast wasn't really playing ball and we would have had to have tested to get on the cable car. Not really an issue, but a faff nevertheless. So instead we packed the car and headed off to the Starzlach Gorge near Sonthofen to stretch the legs and play with my new filters; the Kase Wolverine magnetic filters. I figured that if they're good enough for Nigel, they're good enough for me 😉. 

Hard and Soft || Olympus 44 mm, f/4, 1/2", ISO 200 
My previous filters were a set of Lee Seven5 90 x 75 mm rectangular filters with a traditional filter-holder. These were always such a fiddle to mount, plus the astute reader will remember from my comparison with the Kase system that as soon as you put the polariser on the front of the filters, the system becomes completely unusable at wide angle because you can see the filters in the corners of the photos. Well, more than the corners actually. In fact they were so unusable on a day-to-day basis that I did the unthinkable and bought myself a sneaky cross-pol variable filter (but shush, don't tell Matthias, he'll disown me).

The handy alternative is the Kase Wolverine magnetic filter system. You screw a circular metal plate to the front of the camera lens and layer the filters you want in front of the plate. They stick to the plate using powerful magnets and stay reliably in place, even with the camera attached to my shoulder strap using the Peak Design capture system, though I would be wary of doing this when climbing. I absolutely love the ease of use of the Kase filters, the leather box fits conveniently in the side pocket of my lens bag and are always on hand. If I had two complaints, it would be that there's no marking on the CPL to tell me where the maximum filter mark is (I've overcome this using Tippex) and that I can't use the system in conjunction with my lens hood, which has lead to some sun-flare issues.


  1. Attachment ring, ND 8 filter and CPL
  2. Filters Stacked...
  3. ...and mounted
The first significant water fall in the gorge is just below the ticket booth. They charge € 3.50 to use the path along the gorge, perfectly fair in my mind as they do a fair amount of upkeep with railings and footings to keep you safe in very slippery conditions. The Starzlach Gorge isn't as well known or long as the Partnach Klamm near Garmisch or the Breitach Klamm near Oberstdorf, but it's an absolute delight with some very picturesque cascades. The gorge runs roughly from west to east if you want to bear this in mind for light direction. I usually find shooting gorges works best on overcast days where the clouds form a giant softbox, otherwise things can get very contrasty leaving you with completely burnt out or dark photos.

They also sell a local cheese at the booth. If you like character cheese, something which is normally quite hard to find in German supermarkets, get some. It has a wonderfully nutty flavour, like a good Emmentaler and you'll be supporting local farmers. There are a lot of local cheese sellers all around the Allgäu and we've yet to be disappointed by them.

Entrance to the Gorge || Olympus 13 mm, f/8, 2", ISO 200
The length of exposure under these conditions is purely a matter of taste. Some people don't care for long exposures at all, which is fair enough. I dislike long exposures of the sky with stretched out clouds. But I do like a wispy waterfall image. Depending on the speed of the water, generally anything from 1/5" up to about 5" should cover most eventualities. Most cameras would struggle with exposures like this hand held, but the Olympus have industry-leading IBIS - In Body Image Stabilisation, meaning that I can shoot around 2" and still come away with a sharp image, depending on the focal length of course.

Dual Flows || Olympus 12 mm, f/7.1, 1/2", ISO 200
Shooting in a gorge is usually from a narrow pathway and most people wouldn't take kindly to getting stuck behind someone setting up an unwieldy tripod, so generally you'll need to take most of your shots hand-held in relatively dark conditions.

Coffee on Tap || Olympus 100 mm, f/9, 1/2", ISO 200
Sometimes it isn't about getting the bigger picture, but about finding a detail that captures the mood of the place. This short drop in the water gave a nice little curve and helped emphasise the coffee colour in the water caused by all the recent rain that we've been having. The photos are all about balance and flow - images that aren't weighted down on one side or the other - which would be the result of a clean rule of thirds composition.

Gorge Bridge || Olympus 34 mm, f/6.3, 1", ISO 200

Deep Water || Olympus 24 mm, f/7.1, 1/2", ISO 200
Once we were out of the gorge there was time to look around a little more. The forest floor is really greening up right now, ferns are unfurling (I would have shot some as this is a favourite motif of mine, but I couldn't find any where I would have been able to get good separation between the foreground and background.

Separation was easier on these two members of the broader thistle family with its white seeds against the greenery in the background and isolated completely from the background with the macro lens.

Thistle Thingy I  || Olympus 92 mm, f/4, 1/30", ISO 200

Thistle Thingy II  || Olympus 60 mm, f/6.3, 1/200", ISO 200

Saturday 27 February 2021

Micro Four Thirds Filter Comparison: Kase Wolverine vs. Lee Seven5

I don't often do gear reviews, but I've recently had reason to change my filter system and I thought I'd compare my old Lee Seven5 filters with the new Kase Wolverine Magnetic filters for my m43 Panasonic Leica 8-18 mm f/2.8-4.

When I made the move from a high-end bridge camera to the micro four thirds system two years ago, I also invested in a filter system so that I could dabble my toes in the waters of long-exposure photography. These filters are essentially light-blockers of various intensities. Because they don't (or at least shouldn't) affect the quality of the light (i.e. the colour), they are referred to as neutral density or ND filters.

At the time I was looking around, the Lee filters were very highly thought of in the field and I quickly snapped up a filter kit designed specifically for cropped sensor cameras such as the m43 system without doing much research. Unfortunately, whilst optically excellent, the Lee Seven5 system is only good down to a focal length of 14 mm when you use the accompanying CPL which attaches to the front of the filter holder. Any wider than this and you can start to see the edges of the filter mount in the corners. Because my widest lens is the Panasonic Leica 8-18 mm, essentially I can't use this filter system with the CPL when using this lens.

Vignetting with the Lee Seven5 CPL


8 mm

10 mm

12 mm

18 mm

Lee Seven5 CPL Vignetting

Although I don't do a huge amount of long-exposure photography, I do some and so this has been an issue for me. Fast forward to 2021 and I've finally got round to doing something about it. A number of the photographers I follow on YouTube had been talking about a new system of filters from a filter manufacturer that I'd not heard of before - Kase. As well as the traditional filters involving a filter holder into which you drop the square sheets of glass, they also provide an innovative system involving circular filters that can be stacked on the front of the lens and which attach simply via magnets. This means a lot less faffing about than the traditional filter contraptions, and if nothing else I'm a huge fan of less faff!

A couple of weeks ago I drifted onto the Kase UK website. As I was browsing, an automatic chat window popped up, asking me if there was anything they could help me with. Because my question was very specific - 'what size filter system do I need to avoid vignetting on the Leica 8-18 mm lens?' I decided to give it a go and was pleasantly surprised to have a very quick reply from someone who clearly knew what they were talking about. A fellow Olympus enthusiast who was familiar with the lenses and issues involved but who couldn't say for sure whether I needed the 82 mm system or I could get away with the 77 mm filters. In the end we decided that I could order both and return the one I didn't need, but I'll save that saga for later.

There are a number of things to bear in mind when considering filters. First and foremost they need to be completely uniform, otherwise you'll get blotches on your photos that will be very difficult to remove in post. A close second requirement is colour fidelity; if the photos come out with a magenta or green colour cast it's a pain. It can be fixed to a certain degree, but it's less than optimal. After this, there are a number of further considerations, but if the filters don't fulfil these requirements then leave well alone. Durability, ease of use, cost, accessories and availability of replacements also need to be born in mind.

Optical Comparison

When the Kase filters arrived we were experiencing milky skies due to dust storms from the Sahara (we live in southern Germany). The morning after the packet arrived I slipped over the road to shoot some test shots against the rising sun. With zero cloud cover this made ideal conditions for testing the filters as there were no clouds to create artefacts - the sky should be a homogenous gradation. All the shots were taken within a few minutes of each other (I hadn't had breakfast yet and so was highly motivated to get through the various series) at a constant aperture of f/4 and ISO 200. The images are a 25% crop of the top left quadrant of the photos. They are from the raw files but are essentially unprocessed apart from lens correction. Although I had the camera, an Olympus OMD E-M1 Mk III, set on auto white balance, this only affects the jpeg images and not the raw files. I exposure-bracketed each time and have chosen the +2 EV images in order to give the lightest possible images to compare the exposures.

With the Lee filters I used the 0.45 and 0.9 ND filters (1.5 and 3 stops respectively), for the Kase filters I used the ND8, ND 64 (3 and 6 stops respectively) as well as the CPL filters - a stack of three filters (this will be important later - see below under Afterthought).

Filter

None

Lee Seven5

Kase Wolverine 77 mm

Kase Wolverine 82 mm

8 mm

*

10 mm

12 mm

18 mm

*top right corner chosen as a mis-aligned filter caused shadow on the corner - this was not a vignetting issue.

Lastly, I tested the 82 mm filter at 8 mm focal length with the tripod high-res mode. A friend had mentioned that he’d seen vignetting with HR that hadn’t been visible in normal mode. Not a biggy, but something to watch out for.

High-res mode with 3x 82 mm filters
The bottom line is that both systems appear to be colour neutral as well as highly homogenous and that the 77 mm Kase Wolverine filters vignette slightly with multiple filters at 8 and 10 mm but the 82 mm filters don’t - unless you’re shooting in the Olympus high res mode.

Afterthought

The reason I stacked three filters for Kase is because that's how I often used the Lee filters; the 1.5- and 3-stop filters are relatively weak and I often found myself stacking them. Having slept on it, I'd probably normally only use two Wolverine filters - the 3-, 6- or 10-stop with the CPL in front. In the meantime the clouds have come in and so I was restricted to lighting up a section of wall in the house to see whether reducing from three to two filters could overcome the last vignetting issues. Again, all photos at f/4, ISO 200 and this time all at 8 mm and top left hand quarter of image.

8 mm, no filters
8 mm, 2x 82 mm filter
8 mm, 2x 82 mm filter, tripod high-res
8 mm, 2x 77 mm filter
8 mm, 2x 77 mm filter, tripod high-res
As you can see, there's hardly any shadow with the 82 mm filters, but a little with the 77 mm's still. The 82 mm filter works fine with the Leica 8-18 mm at the widest end even in high-res mode.


Other Features

As I mentioned above, optical comparison is not the only feature to take into consideration; durability, ease of use, cost, accessories and availability of replacements. Both systems have their pros and cons, though I notice that the Lee Seven5 appears to have been discontinued in favour of their 85 mm square filter system - perhaps they realised that the CPL was essentially unusable for wide angle photography.

System

Lee Seven5

Wolverine Kase Magnetic Pro

Availability

Available, but no longer in production

Available

Filters provided

1.5, 3 and 10 stops, CPL, hard grad

3, 6 and 10 stops, CPL

Durability

Hard resin, resistant to falling damage but not to scratching.

Toughened optical glass, reportedly extremely durable.

Ease Of Use

Easy to use, though attaching the CPL can be a bit fiddly in low light

Extremely easy to use, though details regarding which filter is which written very small

Drawbacks

  • Bulky with the holder and CPL

  • Susceptible to light bleed from the side (unless using the big stopper which has a gasket)

  • Not readily combinable with graduated filters (there is a circular soft grad available, but unless your horizon is slap bang in the middle it’s not much use)

Accessories

  • Cordura filter pouch with strap

  • Cleaning cloths (separate cloth pouch for each filter)

  • Graduated filter

  • Leather filter pouch with sturdy clip

  • Cleaning cloth

  • Wax paper envelopes for filters


Bottom Line

I really like the look and feel of the Kase filters and will definitely be keeping the 82 mm set and pensioning off my Lee system. Anyone in the EU want a 77 mm set of Kase Wolverine filters? Otherwise I'll have to send it back to the UK. Somehow. Wish me luck! 

If you're interested in these filters, look up one of their affiliate photographers to get a 10% discount. In the UK you could go to Ian Worth (though you may need to sign up to his Clubhouse). Here in Germany I got a voucher from Manfred Zobrist. Otherwise, check out the Kase website of your country of choice and look up their affiliate photographers.

The Ordering Saga

Warning: Long, rambling story ahead: I live in Germany. My interaction was mostly with the UK Kase website simply because even after 30 years and despite being fluent in German, conversing in English is still my first language. Plus my initial contact via the website was extremely positive and this continued throughout. The people on the other side were very friendly, very knowledgeable, seemingly available at all hours and just willing to chat. In fact I don't think I've ever come across customer service this good. Believe it or not, Sauter Munich also rate very highly with me due to their help tracking down a camera and lens last year, but the Kase people were first in class.

After the initial contact I managed to get my hands on a 10% discount voucher via Ian Worth's website. Bearing in mind Brexit, I thought I'd be clever and order the filters from Kase Germany. Having sorted out the order, I got to the last step - entering the voucher code - and got bounced. Code not recognised. After asking around a bit we worked out that Ian's voucher was only valid with the UK site. I looked around a bit for a German equivalent, but at the time couldn't find one. So back to the UK site, Again, all the goodies in the basket (there were 6 items in all, the two filter systems plus two adapters each for for a 67 mm and 72 mm lens thread) - all from different parts of the website. Voucher accepted. Great. Shipping information: no shipping to Germany. Nuts! The chat box was active again and I brought up the shipping issue with the Kase colleague at the other end. "No problem sir, we'll have that fixed in an instant" - no sooner said than done and literally within seconds I was able to process the order on a Friday evening.

In the meantime, I'd managed to find a German photographer who was offering Kase discount codes on his website. I sent off a request, but unlike the UK people, he appeared to be off for the weekend already. Anticipating a positive response, I checked back with Kase UK (I did say this was a long, rambling story, didn't I?) to ask whether the order could be delayed for a couple of days whilst I waited for the German voucher. They checked, but unfortunately by this stage the order had been processed and couldn't be held up any longer.

A couple of days later I received an email from the package service asking me to pay the European VAT/MWSt. I'd envisioned having to drive several miles to my nearest customs depot to pay import tax, but contrary to the experience of other ex-pat friends, DPD appears to have all its ducks in a row. After filling out the requisite forms and giving my credit card details (yes, of course I cross-checked the package number from the DPD payment request with the Kase dispatch note), the order was once again on its way and a couple of days later in my hands. 

So now the filters are tested, the 77 mm Pro kit back in its box and waiting to either go back to Kase UK or on to some lucky person this side of the Channel. If you don't have anything wider than about 14 mm (m43 equivalent) and are interested in a set of top quality filters, get in touch, perhaps we can do a deal...