Showing posts with label blue-hour. Show all posts

Monday 14 December 2020

Out and About December

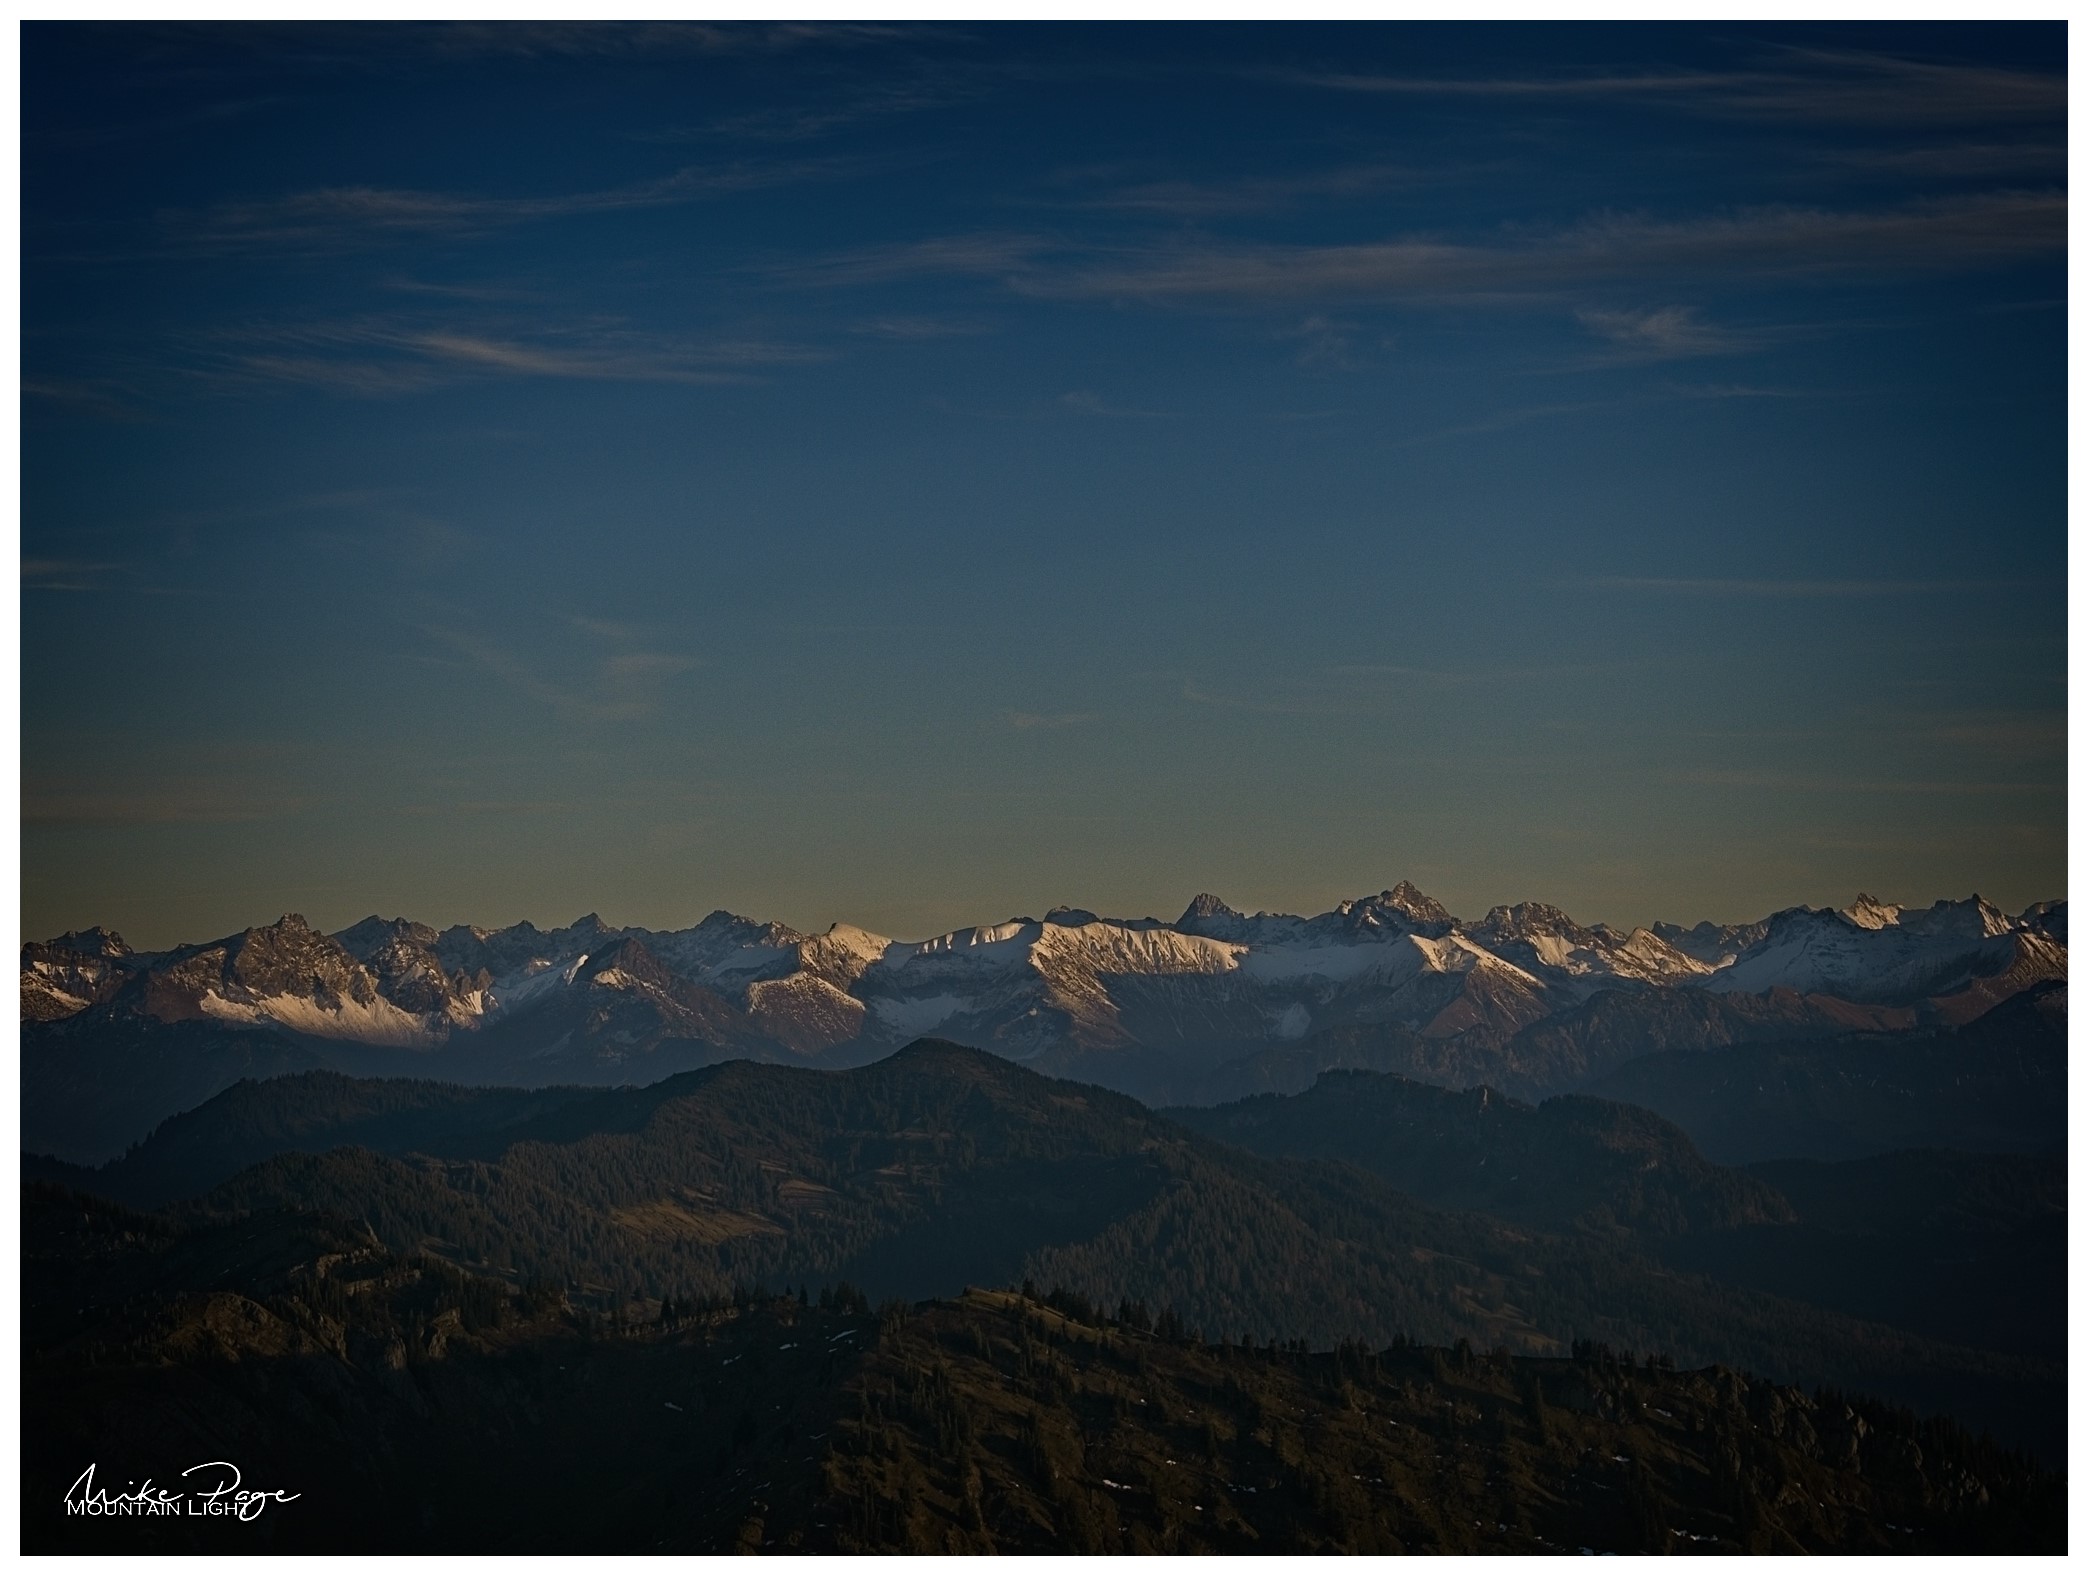
There is (or probably more accurately, was) a trope in exploration films of the last century that the natives would refuse to let themselves be photographed for fear of losing their essence, that the camera would magically capture their soul or 'essence' and leave them somehow diminished. As enlightened people we pooh-pooh such superstitious nonsense, especially the more scientifically minded of us (I have a PhD in biochemistry). But more recently I've come back to this question, from a slightly different perspective. Not that I'm advocating that capturing light reflected from a subject on a sensor in any way takes something away from the scene, but the idea of capturing the essence of something.

At The Castle Gate I || Olympus 61 mm f/6.3, 1/100 s, ISO 250 
It all boils down to the age-old question; what makes a good photo? Obviously there are n+1 answers to that question, where n = the number of photographers asked, and a lot will depend on the genre of photography in question. What makes a good portrait photo isn't the same as what makes a good product, macro, wildlife, abstract, street, sport or landscape photo. I'm not even sure that there's a single over-arching principle that captures what constitutes a good photo for a single one of these genres, but I think that the concept of capturing the essence of the subject comes close. 

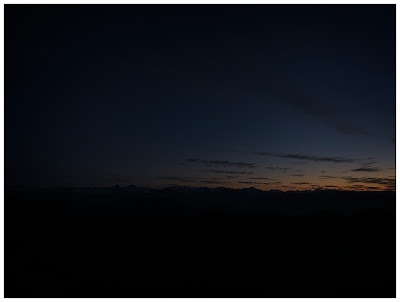
The Setting Sun: Composite || Olympus 100 mm f/5.6, 1/320 s, ISO 200
The shot above is a three-shot composite. I hesitate to use the term HDR as it was more a case of exposure blending - manually combining the correct levels of exposure from the three otherwise identical photos instead of a computer (or camera) -generated HDR. Hand-held. The essence of the scene is the setting sun in the context of the ice-covered branches and wintery sky.

A portrait that tells you something about the subject's passions by capturing the person in their environment, a sports photo that conveys the tension of the game, a landscape photo that transports the viewer to the environment and scene in question will always be more compelling than a plain documentary shot. But how do you get such an image?

A Man and His Dog; Rule of Thirds || Olympus 100 mm f/7.1, 1/30 s, ISO 1600
This is where the standard rules of photography composition play a supporting role, but no more - which is all they should ever do (IMHO). The rule of thirds (above, horizontally and vertically), the use of leading lines to direct the viewer's gaze, focus point and depth of field, centred reflections are only ever aids to arriving at decent photos and never a guarantee. It's easy to take a photo that obeys all the rules, but taking a photo that captures the essence of the scene requires something more than following a list of step by step instructions. This is what separates the good from the great.

The Village Oak Tree || Olympus 31 mm f/5.6, 1/60 s, ISO 250
A great question that can help really capture a photo that tells a story is to ask yourself which aspect of the scene really caught your attention. Once that question has been answered, the next one is more technical; how can I take a photo of the scene that accentuates that aspect. Which focal length do I need to use to emphasise the aspect in question? What light do I need to light the scene? Exposure? Depth of field? Sometimes the response to all of these questions is instinctive and you just know as soon as you look at the scene what you need to do, but this instinct requires training. 

The American photographer Joshua Cripps sums up this process with the following analogy: "a good landscape photograph is like a caricature: it simplifies and exaggerates". I think that's a great concept to hold in mind as we as ourselves these questions. In the photo above I've done this partly in post-processing, emphasising the brightness of the snow on the branches. Trees with a low amount of snow on them like this are infinitely more interesting than without, or even with tons of snow on them. What would otherwise have essentially been a high contrast image without the snow - more or less black and light blue, gains an extra dimension.

Winter Evening Personified || Olympus 41 mm f/7.1, 1/80 s, ISO 1250
When looking through my photos from December so far, this was an concept that I had in mind. Which of these photos capture the essence of early winter, that transport the viewer to the scene at the time? Which of them leave the viewer feeling the cold on the end of their nose and tips of the ears? Or hearing the crunch of snow under their feet as they walk the local fields?

At The Castle Gate II || Olympus 23 mm f/7.1, 1/50 s, ISO 1600
My daughter gave me the idea for the shot above as she crouched close to the ground to catch the reflection of the gate in the frozen water. Never be too proud to steal a good idea, or to get your trousers grubby/wet for the cause!

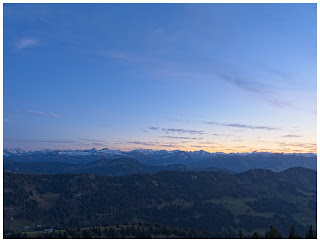
Winter's Morning || Olympus 61 mm f/6.3, 1/100 s, ISO 250
Equally, it's always good to be able to go at the drop of the hat. This wintery sunrise shot was shot pretty much from the front doorstep

Landsberg Christmas Tree || Olympus 11 mm f/3.5, 1/13 s, ISO 250
I love shooting in the blue hour - the hour or so after (or before) the sun goes down. Whether in towns such as our local Landsberg (above) or out in nature catching the first stars whilst there's still enough light to illuminate the mountains. Any earlier for this scene and the Christmas lights would have been overwhelmed by the daylight, much later and there wouldn't have been enough light to see the buildings properly.

Between the Villages || Olympus 61 mm f/6.3, 1/100 s, ISO 250
Another venerable tree, a solitary beech in the fields between us and the next village. Again, the snow on the branches make an otherwise relatively dull subject a lot more interesting. The ploughed field and resulting lines help to add interest and geometry to the shot. In retrospect I should have got a little closer to the tree to get more separation from the tree behind it, but it's not disastrous.

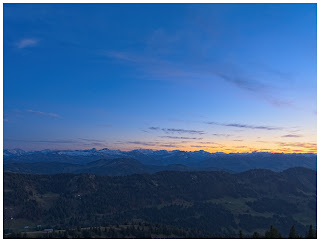
Across the Fields || Olympus 61 mm f/6.3, 1/100 s, ISO 250
I really like winter skies, especially towards the ends of the day. There's often a lot of pink in the clouds even when sunset isn't imminent. This photo was taken just an hour after midday looking south.

A Glimpse of Sun || Olympus 31 mm f/20, 1/15 s, ISO 200
This is a good example of a caricature image. The things that caught my eye were the sunlight twinkling through the tree tops and the snow lying on the downward sloping branches. I deliberately stopped the aperture down to f/20 to achieve the little sunbursts. Combining low aperture with fragments of sun - whether it's just breaking over the horizon, peaking from behind a mountain or behind trees like here lets you get these classical star shapes. Some lenses will give more, others, such as the Olympus Zuiko 12-100 mm here, less, but they still give that classic sunburst. This is another manual exposure blend, one for the sky and one for the forest. The pile of dead wood in the foreground emphasises the snowy branches by repeating the pattern of lines.

Into the Woods || Olympus 18 mm f/8, 1/60 s, ISO 800
Classic leading lines here heading into some local woodland. Exposure bracketed / HDR in order not to overwhelm the shadows and highlights in the final image. The curve of the track really strengthens the image, as do the snowy branches left and right and the upright trunks of the firs at the back. The fact that there's some light at the centre illuminating the trees also helps; the eyes are always naturally attracted to the light. 

Unearthly Glow HDR || Olympus 15 mm f/8, 1/10 s, ISO 320
I really like this last shot. Walking back towards the house through my favourite local woods the low afternoon sun and slight mist caught my eye through the trees. Taking care to hide the direct sun behind a tree I shot an exposure bracket (again, +/- 2 EV), combined as an HDR image in ON1 Photo Raw. The snow on the ground and the high branches (you had to look back didn't you?) really set it off.

So, that's my December photography so far. How's yours going? What weather have you got? Are you able to get out still?

Saturday 7 November 2020

HDR Edit in ON1 Photo Raw 2021

I thought it was time to do another edit run-through, in case anyone's interested in that sort of thing. I do 99% of my post-processing using an all-in-one editor called ON1 Photo Raw 2021, it's a great programme that covers a lot of the functionality of Lightroom and Photoshop in one package.

Blue Hour over the Allgäu last Saturday
Talking to friends, I have the impression that for a lot of photographers, post-processing is a book with seven seals and something that they'd rather not bother with. To be fair, a lot of cameras produce excellent quality jpegs, but what a lot of people don't realise is that a jpeg isn't an unprocessed image: It's an image that has been processed by your camera (or RAW editing software) using automated algorithms. 

So the question is - who do you want to edit your digital negative? your camera or other automated processing software, or yourself? If you're happy with the edit your camera/software has made, then there's not a lot of need for further editing. If, on the other hand, the jpeg out of camera doesn't meet your expectations, or more importantly (for me at least), if the final photo doesn't convey the emotion that you experienced in the field, the only solution is to get to grips with digital processing. That's deep isn't it? And that's the principle underlying most of my editing; I want to convey to the observer the emotion that I experienced when I took the photo. 

HDR Assembly

This photo is a high dynamic range (HDR) image. It has been assembled from three separate exposures taken one after the other; one exposed as normal, one for the dark parts of the scene and one for the bright parts of the scene. The camera has a much lower capacity for distinguishing between the brightest and darkest parts of an image for the human eye. Conservatively, my eye is 30x more sensitive to extremes of light and dark than my camera sensor is. To compensate for this, it's necessary to take multiple images and compact them together in order to arrive at a compelling image.

Base Exposure; 12 mm, f/8, 0.6 s, ISO 200
Dark: ibid with 1/13 s
Light: ibid with 5 s
Normally I would set the camera to expose two stops over and two under for 1/4 and 4x the brightness (one stop= one doubling or halving of the exposure). Here I elected to use a three stop bracket due to the extreme conditions. The three base images are nothing special, as you'll see here. The basic image is exposed for the sky, the darker image has more colour in the brighter sections of the sky and the lighter one for the valley foreground.

To create the HDR base image, you'll need to select the three images in ON1 Photo Raw Browse and then click the HDR button on the right. You'll now be confronted with a number of choices; Deghosting, Default Look and a bunch of sliders and options. 
Deghosting is all about how the programme processes compositional differences between the images, which will play a role if the shot was hand-held or if there are moving elements in the scene. Here neither is the case; the photo was shot from a tripod and there's nothing in the image that was moving sufficiently to cause problems over this distance and time-scale. The orange square reflects which image you've selected as the base image.

Selecting the base exposure and HDR algorithm
The next choice to make the Default Look. This dictates how ON1 processes your images into the final HDR picture. There are four options here; Natural and Surreal, both with and without Auto processing. Just for fun, I've tried all four options here below. The difference between Auto and native is that ON1 chooses how to set the basic level sliders for you. 

Natural

Natural Auto

Surreal

Surreal Auto

Because I want the image to reflect the darker mood of blue-hour, the dusk hour after sunset when there's still ambient light to see by, I've set the base image for the exposure using the iris icon in the left-hand image in the HDR window.

Effects and Local Edits

Once ON1 has generated a base image that you're happy with, it's off to the Develop module to do the actual editing. This is where the magic happens and where you can turn a good image into something special. Of course you've still got the option of just hitting AI Auto at this stage for ON1 to perform an automatic edit. If you really want to make the image sing, however, a little more finesse is involved.

Normally if I was editing an image, I would have applied one of a personal custom preset, applying a bunch of Effects and Local Edits to the image. Actually in my custom preset, most of these aren't actually applied, instead they're pre-loaded but not yet selected. This is a huge time- (and wrist-)saver, because it means that I don't have to click through a number of menus items to select the standard edits that I use on most photos. I apply this preset automatically at the import stage, but the output file from the HDR module strips the photos of all these filters.

I used the Natural Auto HDR as my base image as a starting point. Everyone has their own particular style. Mine tends toward the hyper-realistic feeling of Albert Dros or Fabio Antenore, two landscape photographers whose eye-catching Instagram images  really stuck out to me, but I don't take it quite as far as they do.

Having set the base image using the HDR sliders, it's down to some Effects and Local Adjustments:

1. Base Image
Here's the base image. I've cropped to a 2:3 format to cut out the immediate foreground.
 

2. Noise Reduction
I hate performing noise reduction. It's process I don't understand and usually involves me randomly sliding Luminance and Detail up and down until I arrive at a compromise I'm happy with. Unfortunately, cameras with small sensors are prone to noise grain. I normally avoid this by leaving the ISO at the native level. Even though I did that here, I seem to have picked up some noise in the sky. I've reached an unhappy compromise here with a Luminance of 40 and Detail 15.


3. Colo(u)r Enhancer: Increase Colo(u)r
Adds some colour saturation to the image, deepening the blue of the sky. I've applied it to the whole scene at 100% opacity except the yellower area of the sky because it became too dominant.


4. Tonal Enhancer: Highlights Darker
Darkens the sky somewhat, intensifying the colour even further. Applied to the sky with a gradient mask. There was no need to apply it to the foreground.


5. Tonal Enhancer: Tonal Contrast I
Adds a bit of sharpness to the scene. Applied using a large feathered brush at opacity 50% to the mountain area to restore some detail. 


6. Tonal Enhancer: Tonal Contrast II
I applied a second, more gentle tonal contrast filter as a gradient at 33% opacity to the bottom of the picture to give the trees a little more detail.


7. Split Tone
Using the split tone filter you can add different colours to both the highlights and the shadows of an image. Here I've used it as a diagonal gradient with the highlights unaltered (set to white) but the shadows given a purple tone. As you can see it subtly changes the darker blue tones into slightly purple ones. 
Note: the purple bottom-left was unintentional and removed in later photos.


8. Local Adjustment: Lighten
The foreground was looking just a little too dark for my taste, so I adjusted the Exposure to +0.6, Contrast to +20 and Saturation and Vibrance each to +15. Applied as a gradient to the bottom of the photo.


9. Local Adjustment: Reduce Highlights
The orange sky was still a little wan for my taste so I applied a radial gradient to the right-hand side of the photo in which I only pulled the Highlights down to -85. No Exposure adjustment, just the Highlights, it's a neat way of dealing with local Highlight (or Shadow) issues in a photo and here it just enhances the colour in the western sky towards the set sun.


10. Local Adjustment: Lighten
This last step is the salt in the soup and one I'm quite proud of: Instead of decreasing the highlights as one usually does, I selectively increase them - on the snow. Again, the exposure on this edit was left neutral and I just upped the Highlights by +40 and Midtones by +70. Then to rescue the snow a little bit out of the blue tone I increased the colour temperature by 5. This slider is incredibly sensitive at this level, but +5 really brings it enough towards white that it stands out.

Applying this brush wasn't easy and took me several attempts. In the end I opted for the ON1 AI Quick Mask, modified at the micro level along the ridge of the mountains and then removed from the immediate foreground. I love the way that you can set a gradient or mask in ON1 to tell the programme where to apply the effect that you want and then make micro adjustments to that mask to correct any mistakes.

Looking back up the series, the difference between steps is relatively subtle, so before I reveal the finished image, let's look again quickly at the starting point and then immediately on to the final photo for comparison:

Before

After: Blue Hour over the Allgäu

Anyway, that's the final edit (for now). Let me know below if you've found this helpful at all, or if you'd have done anything differently. Until then, stay safe and happy shooting.

Tuesday 3 November 2020

Sunset From The 'High Ridge'

Matthias' message warning me that the forecast was set for sensational sunsets at the weekend reached me on Thursday evening. At the same time he informed me that he was waiting for confirmation that he hadn't been infected by a colleague and so we'd have to play it by ear. In the meantime: where to go to catch the spectacle? I immediately recalled a tour that we'd done as a family earlier in the year in the western Allgäu mountains and where we'd had an uninterrupted view towards the Säntis in the north-eastern corner of Switzerland.

Cloud Inversion over Lake Constance || Olympus 100 mm, f/8, 1/100 s, ISO 200 
Looking through our hiking book for the Allgäu, Sharon found a suitable looking tour just north of our previous jaunt, involving the summit of the Hochgrat. Looking it up online, I noticed that they had a cable car up to a few meters below the summit with a mountain restaurant and that they were advertising late opening due to the full-moon. Slowly a plan was forming in my mind involving an epic sunset shoot followed by some cool blue-hour photos by moonlight.

By Saturday morning, Matthias still hadn't received the all-clear, so we reluctantly decided that we would be better off going our separate ways this time - a decision that I don't think either of us regret given the images we were able to capture. Given the fact that we were planning a relatively late shoot, we weren't in a hurry to leave on Saturday morning. 

Into the Aubach Valley || Olympus 44 mm, f/8, 1/160 s, ISO 200
We'd planned to park well up the Aubach valley at the Alpe Scheidwang, but after having have to wait for a small herd of cows to be ushered down to their winter quarters (the Alpine 'Almabtrieb' tradition - usually quite a photogenic event) we drove up to the bottom of the toll road to find it closed for the winter already. This put 8 km (5 miles) onto both ends of the walk, but we weren't going to be put off so easily.

The Aubach valley is delightful and full of deciduous trees. Unfortunately we were a few weeks too late for the best colour ('peak fall'), but we were still treated to a few last silver birches glowing golden in the afternoon sun. The polarising filter really brought out the sky's colour, bringing the cirrus clouds drifting overhead into stark relief.

Golden Silver Birch || Olympus 12 mm, f/6.3, 1/125 s, ISO 200
The unexpected extra mileage meant that we didn't have much time to enjoy the valley, but there are a number of waterfalls left and right of the trail that would warrant a more leisurely investigation another time under the right conditions. The live ND function on the new Olympus makes shots like this child's play (if you can find them that it). The on-board computer can simulate a 5-stop light reduction.

Roadside Waterfall || Olympus 61 mm, f/8, 1 s, ISO 200
One of the Olympus features that caught my attention and caused me to opt for this system over say those of Fuji, Sony, Canon or Nikon was the image stabilisation - an exceedingly clever system that compensates the movement of the photographer and enables you to still get remarkably sharp photos. The shot above, for example, is a 1 s exposure. As a rule of thumb, without any stabilisation (unless you have a really steady hand) is that the shutter speed shouldn't exceed 1/focal length (e.g. 1/50 s for a 50 mm lens). Being able to take shots like this hand-held is a huge advantage. Add to that the brand new in-camera ND filter (neutral density - a darkened filter that is pure grey) and you've got a winner. The Olympus E-M1X had this and so does the new E-M1 Mk III, of which I have been a very happy owner for about a month now.

Climbing out of the valley towards the ridge and our destination - the 1834 m high Hochgrat - the snowy tops of the inner-Alpine peaks began to show themselves. The previous morning there had been snow even on the northern edge of the Alps and there were signs of fresh snow, but they quickly disappeared over the course of the day. As we climbed out of the valley and could peer over the edge we could see that the main Alps hadn't shed their white blanket so easily.

Peeking Over The Edge || Olympus
As we climbed towards the ridge, it wasn't only more mountains that we could see, but more people as well. There's a cable car that runs up to a point about 80 m below the summit starting near the town of Oberstaufen on the other side of the mountain to where we started from. Due to the full moon, the cable car was running until 21.00 and a lot of people were understandably making the most of the last Saturday before the renewed lockdown to tank up on fresh air.

Catching the Sunset

Despite the larg(ish) numbers of people, there was plenty of room on the summit to settle, grab a snack and wait for the ensuing spectacle. There wasn't as much high cloud as there had been the previous evening, but the remnants of cirrus clouds, particularly on the western horizon, gave us hope. Although I'd deliberately chosen a spot on the very edge of the summit and demonstrably got my tripod out and ready, it didn't stop another photographer from setting up between us and the sunset. To be fair, he probably hadn't noticed me - my tripod was out but not extended, but it still left me fuming at him (silently of course, I am British after all) and so I demonstrably set up just left of him as we waited for the show to start.

Waiting for Sunset || Credit: Sharon Page, Huawei p30 Pro
As well as the main view in front of us, the slowly setting sun was beginning to light up the bigger mountains of the Allgäu in a very alluring fashion. Taking panoramas like this I'm always torn between the bigger picture and detailed shots of individual mountains and larger panorama shots. I must have swapped between the 12-100 mm and 8-18 mm lenses half a dozen times as the evening progressed, depending on how the fancy took me.

Alps at Sunset || Olympus 38 mm, f/8, 1/500 s, ISO 200 
Hochvogel - Matterhorn of the Allgäu Mountains || Olympus 75 mm, f/8, 1/50 s, ISO 200
Then it was just a question of waiting. Exposing sunset photos is far from easy. Either you get a well-exposed foreground and a pale sky with a burnt-out spot where the sun should be, or a dark foreground and a brilliant sky. Working with a tripod it was relatively easy to take multiple exposures of each shot and put them together afterwards in ON1 Photo Raw. This is necessary because our cameras are not as good at resolving the range of bright to dark as the human eye is. Normally when I'm 'exposure bracketing', I'll set the camera to 1/4 and 4x the light (two stops under and two stops over), this time two stops wasn't going to do it and so I went to three (1/8 and 8x the light) and even then it was borderline shooting directly into the sun. 

Sunset with the Crowds || Olympus 18 mm, f/8, 1/100 s, ISO 200
Even with these precautions, the sun was almost too bright for the camera as it dipped behind the Säntis. 

Sunset over the Säntis || Olympus 100 mm, f/8, 1/125 s, ISO 200

Hardly Alone || Credit: Sharon Page

Always Wait for the Encore

About 18 years ago, the band Blackmore's Night was playing one of the local concert venues. The eponymous Richie Blackmore was the one-time lead guitarist of two of our favourite bands (you may have heard of them; Deep Purple and Rainbow 😉). The newer music style of Blackmore's Night is a bit twee and wasn't really worth hanging around for the encore for, so in order to beet the rush for the car-park (and keep the babysitter's fee to a sensible level) I suggested that we cut out early. We were just walking across the road when I heard the opening chords of "Difficult to Cure" - Rainbow's rock adaptation of Beethoven's 9th and one of my favourite tracks of theirs. The hairs immediately stood up on the back of my neck and we did a volte face and marched back into the courtyard to enjoy a great rendition of this rock classic. Why am I telling you this? Well the moral of the story is that as with concerts, when photographing sunsets, you should always wait for the encore. Once the sun dips below the horizon, it lights up the clouds from below leaving you with the classic breath-taking oranges, reds and purples - and yes, sometimes even deep purples.

Always Wait for the Encore || Olympus 25 mm, f/8, 1/50 s, ISO 200
Another good tip for photography in general is that you should always look over your shoulder for the unexpected scene. Despite wanting to get to the restaurant before the crowds did - we knew that we were going to be around for a while yet for the blue-hour - we spent a couple of minutes scouting the area for some last shots before setting off down the path to the top of the cable car to grab some well-deserved chow. I've had better food in the mountains, but sitting outside on the terrace of the restaurant I don't think I've had many better locations.

And Keep An Eye Over Your Shoulder || Olympus 75 mm, f/8, 1/50 s, ISO 200
Friends || Olympus 75 mm, f/8, 1/30 s, ISO 200

On to the Blue Hour

As we polished off our venison goulash on the terrace overlooking the valley, or Käsespätzle in Rhi's case, the lights started to come on, both in the valley and above us. I absolutely love blue hour photography. Since my stint in the Allgäu shooting the Milky Way back in June, I've become an ardent fan of this time of day. Every photographer has their favourite light. For some it's the hour before sunrise, when lakes are still mirrors and mist hangs in the valleys, for others it's the golden hour, that time just after sunrise or just before sunset when the light turns that gorgeous colour, illuminating subjects gently from the side. Mine is the evening blue hour, catching the sky as it turns pastel shades of yellow to purple. If I'm in the mountains, and even better, if there's fresh snow on the peaks, then I'm in heaven. I was in heaven:

Photographer's Delight || Olympus 12 mm, f/8, 0.6 s, ISO 200
Not only was the view to the south hotting up (above), the lights were beginning to show in the valley. Dusk photography is always fun - you invariably end up getting details on the photos that the native eye didn't spot. Although the eye has a greater dynamic range than the camera sensor, the sensor is more sensitive to low levels of light, especially if you keep the shutter open for a few seconds as here. I never noticed The Plough when I was taking this photo, but it's staring you in the face here.

The Plough over Oberstaufen || Olympus 10 mm, f/3.1, 30 s, ISO 200
But the sunset wasn't the only heavenly spectacle that the evening had prepared for us, we still had the full moon to go. It was low on the eastern horizon as we started off on our three hour trek back to the car. I tried a couple of shots, but couldn't get the focus properly - always a problem with low light photography. Yes, yes, I know the Mk III has the super-duper star AF mode, but in my rush I completely forgot about that, and wouldn't have known where to find it in the dark even if I had. On top of several expertly exposed shots that would have looked brilliant if I'd got the focus right, I managed to squeeze this last shot off my focusing on Mars. 

Allgäu by the Light of the Moon || Olympus 9 mm, f/3, 30 s, ISO 800
The moon was so bright that we didn't even need the head torches that we'd brought with us. The long yomp along the Aubach really dragged on the way back, leading Rhiannon (girl-child) to issue the warning "the photos better be worth it!". I'll leave you to be the judge.

Oh, and Matthias tested negative.