Showing posts with label monochrome. Show all posts

Sunday 7 March 2021

The Wrong Mountain

In future, I think we'll stick to doing winter tours that we know from the summer. Yesterday The Wife and I embarked on a winter tour from one of the books I bought her for Christmas. It was supposed to take us up the 1542 m Reuterwanne above Jungholz, a small Austrian village that is accessible to Germany during the lockdown due to the fact that it exists as an enclave into Germany. Who knows what they were drinking when they drew up the borders after WWII?, but this is definitely a weird one.
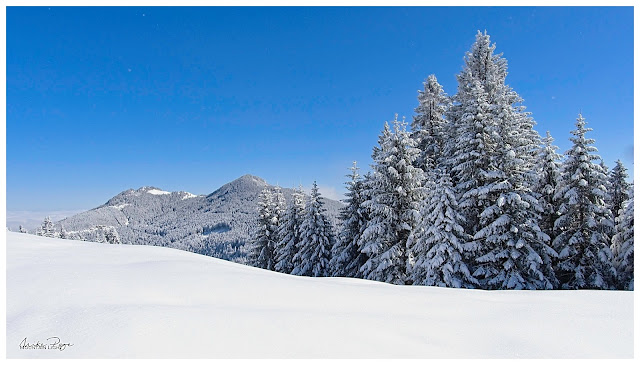
From the Pfeiffenberg || Olympus 13 mm, f/8, 1/1000 s, ISO 200 
Instead we ended up on the 1458 m Pfeiffenberg because we followed the tracks in the snow. Although most of the valley snow has disappeared, it snowed again on Friday. With a cold but sunny forecast for Saturday we decided that it would be rude to sit at home doing nothing and decided to head out to the hills once more. We were treated to a day of two halves. Actually, to be more accurate, we had a foggy day with a sunny interlude because the fog rolled in again as we came down the mountain, giving us some really special images, but more of that later.
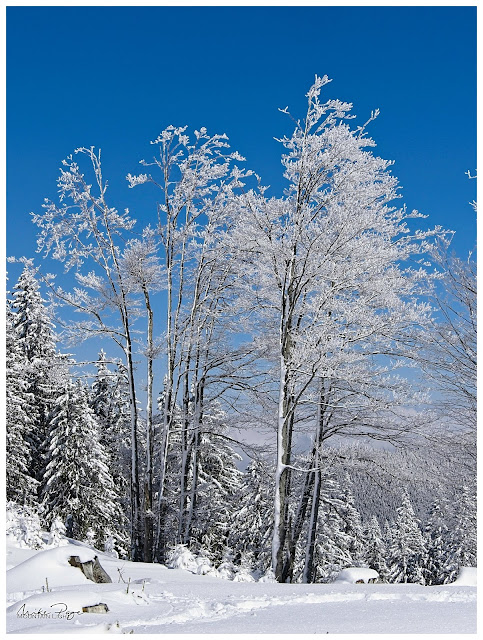
Frosty Trees || Olympus 34 mm, f/8, 1/1600 s, ISO 200
We set off from a surprisingly empty car park in Jungholz - whether people were intimidated by driving into Austria (😮), they'd been put off by the fog, or whether in March they'd simply had enough of the snow, there simply weren't that many people under way, which suited us just fine. Finding the first landmark on the tour was easy since it simply required us to follow the signposts to the Stubentalalpe. The book (and signs) had the path following up the hillside behind the hut to the Reuterwanne and so we blindly followed the tracks leading up the hillside. What we failed to see was where the path to the Reuterwanne diverged and so we found ourselves atop the wrong mountain with no discernible path to getting on the right one.

The Process

But never mind, because we came home with an SD card full of 'keepers' and memories of a lovely winter tour pretty much on our own. A keeper is a photo that I'll keep (duh!) and show either here, Instagram or on my private Facebook page. Not necessarily the best of the best, but good enough to air publicly. After years of photography, I have developed a clear sorting method for photos at the end of the day. I'll import the photos directly into ON1, applying my own private preset - a set of standard modifications that I use during RAW processing. Almost all of these are not actually applied, but available to be used at a single click rather than diving through various menus. During import, I also back the photos up to an external USB hard drive. This has actually saved my butt once recently too as I managed to delete a whole folder worth of photos from my laptop.
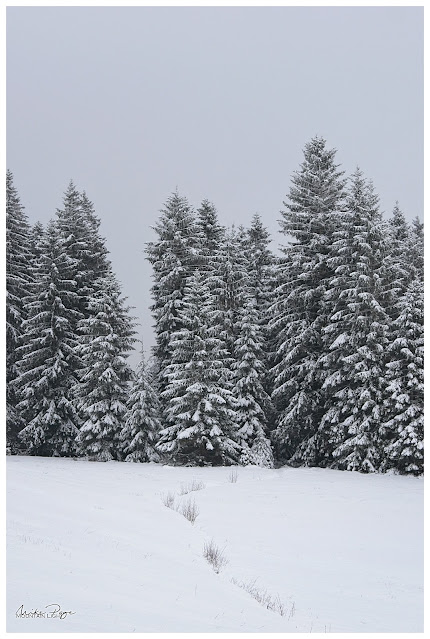
Keeper or Not? || Olympus 47 mm, f/8, 1/1000 s, ISO 400 
Once imported, I use the ***** system to indicate which photos I actually want to process with a single star. I'll then go through these one by one, applying the edits I think best enhance the photo to emphasise the aspect of the image that really caught my attention. The edits that I'm happy with I'll give two stars to. These are the images I end up exporting to jpg from ON1, most of which will end up being published somewhere. I tend not to be overly selective here. I have one friend who posts perhaps a couple of photos there a month and they're really top-notch images. I'm a bit more indiscriminate and tend to spray my images everywhere. The really good ones will get three stars, but that's perhaps a small handful of images in a month.

The Foggy Half

Photographing isn't necessarily the first thing you think about doing in fog - but the results can be amazing. I got a couple of really painterly images from yesterday's tour that couldn't have been taken in any other conditions.  This first one of the shed in the snow was actually the very first image I took of the day. This I might even classify as a three star image. Note that it thumbs its nose completely at the rule of thirds etc., but it works, for me at least. Great way to start the day
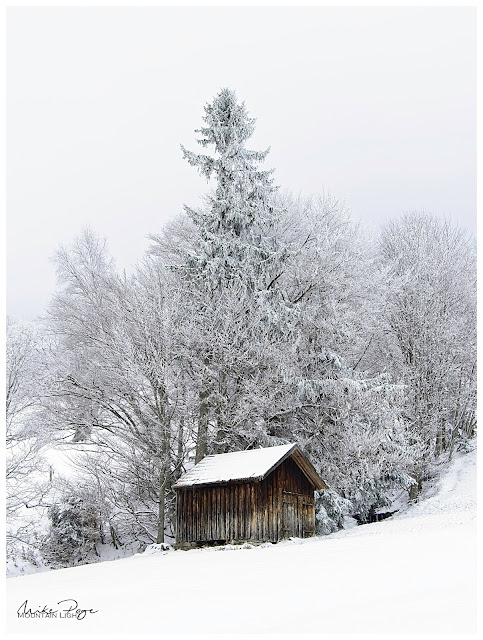
Lone Shed || Olympus 29 mm, f/6.3, 1/1000 s, ISO 400
As well as the fresh snow there was a wicked hoarfrost as we walked up out of the village due to the freezing fog. We tend to think of nature as a constant, what's there today will be there tomorrow, but these photos tell a different story. Even as I write this 24 h after taking the photos, I know that they were unique, unrepeatable snapshots in time. Never again will that shed scene look exactly like that. Never again will that branch have that constellation of ice crystals. The same is the case for images with powerful clouds. Sobering thoughts.
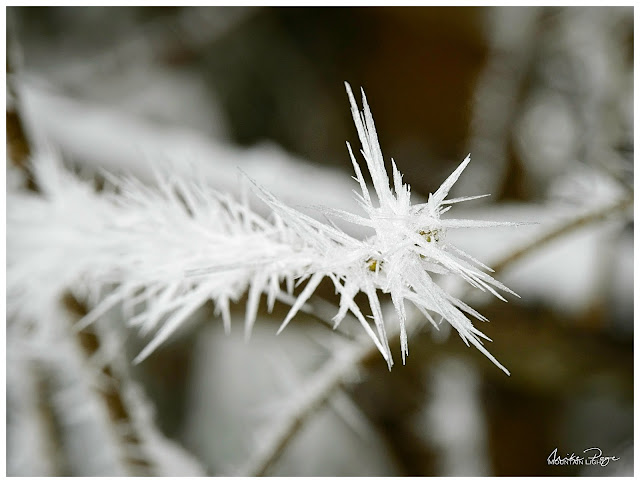
Ice Crystals || Olympus  100 mm, f/11, 1/160 s, ISO 400
I decreased the aperture to f/11 here to increase the depth of field on the crystals. F/8, my standard aperture for this lens, just wasn't doing it and I didn't want to stop down too much further as it would have reduced the shutter speed to a level where motion blur might start becoming an issue. A lot of photographers only talk about aperture as a means to control depth of field, but it's only one of three factors influencing how much of your scene will be in focus alongside focal length and focal distance (how long your lens is and how close you are to the subject respectively).

Once we reached the Stubentalalpe we were out in the brilliant blue skies of an early spring day - after all meteorological spring started last week and we continued enjoying that light until we came down again after lunch. There was fog below us and rolling over the tops every now and then, but by and large it was pure sunshine until we descended back to the hut.
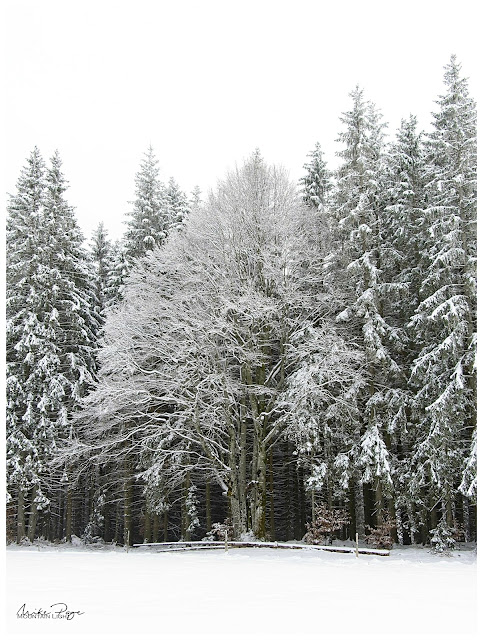
Standing Out and Hidden || Olympus 20 mm, f/8, 1/250 s, ISO 200
Snaking our way back down the tarmac to Jungholz at the end of our tour we came across this group of trees across the road. At a first glance the images look black and white, but they're full colour as you can see if you look at the snow poles and trail sign. An interesting set of images that aren't quite my usual style, but I really like them and could imagine them looking good printed on wood.


The Sunny Half

Once we'd reached the Stubentalalpe it was blue skies all the way, giving rise to a different sort of monochrome - white and blue instead of black and white. The colour of the fir trees was essentially non-existent given the bright light. Normally I would have had my CPL polarising filter on in conditions like this, but because the scene was so bright anyway I decided not to use it as it would have made the skies even darker and I was looking for some brighter images.
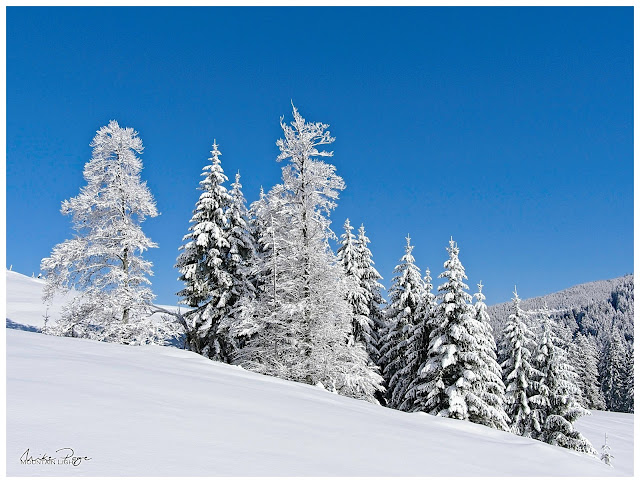
At the Stubentalalpe || Olympus 21 mm, f/8, 1/2500 s, ISO 400
Arriving at the Pfeiffenberg we found this delightful little wooden cross. At this point we thought we were still on the right path - we weren't -  and could see the Reuterwanne but couldn't clearly see how to get to it. Again, a unique image. Never again will this particular snow pattern exist to be photographed.
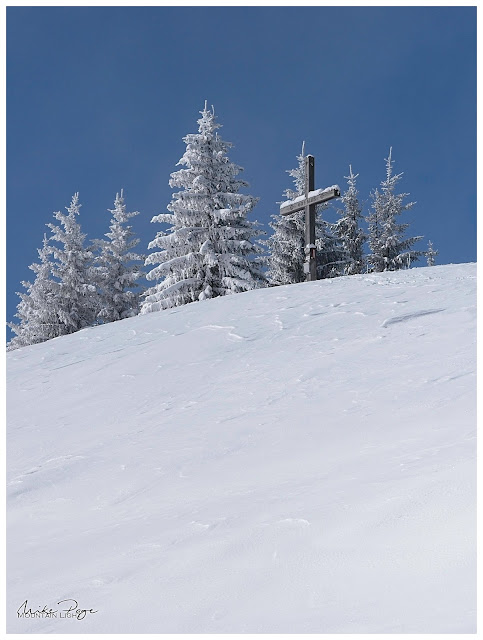
Pfeffenberg || Olympus 66 mm, f/5.6, 1/4000 s, ISO 200 
This next image is a complete fake! The path ran through the snow to the left of the drift. Apart from looking ugly, I wanted to see how far I could take the image correction. There are a couple of blotches that I might be able to correct with a little more effort, but the resulting image is adequate without being a showstopper. This is about the limit of corrections that I'll apply to an image outside of focus or exposure bracketing. I won't do sky replacements, for example, not because it's wrong per se, but photography for me is about conveying the beauty of what I saw and experienced. There's an inherent authenticity involved. This is probably a step too far.
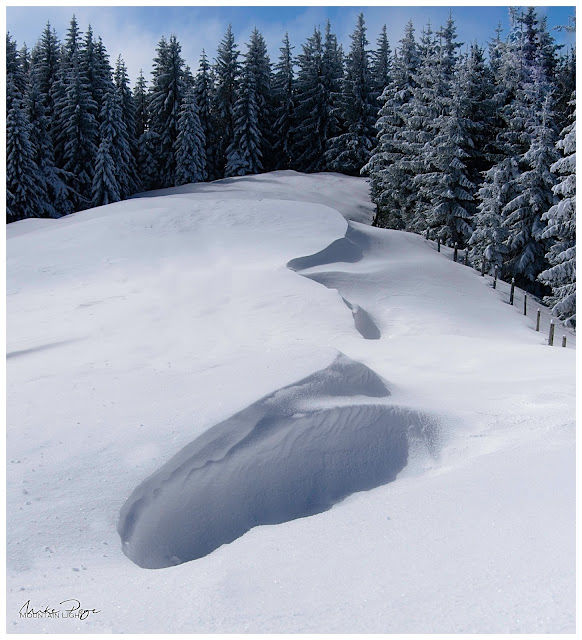
Drifts || Olympus 23 mm, f/4.5, 1/6400 s, ISO 200 
Coming off the top we descended into a mini winter wonderland of baby fir trees. You can clearly see the valley fog in this photo. The trail through the snow is the same one as the shot of the drifts, demonstrating the extent of the 'corrections' that were necessary.
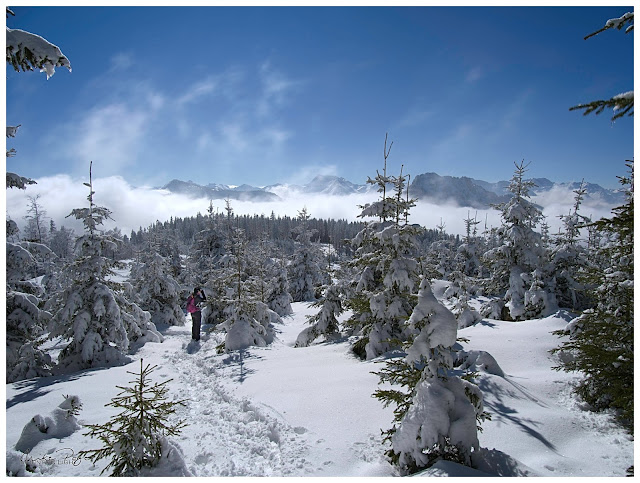
Winter Wonderland ||  Olympus HR 12 mm, f/8, 1/1250 s, ISO 200
And I can't come away from a trip to the mountains without a photo of a tree stump!
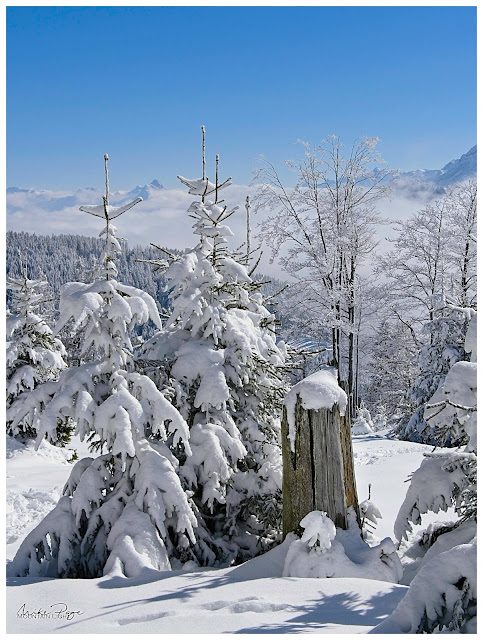
The Stump || Olympus 31 mm, f/8, 1/1600 s, ISO 200
Descending further we came across a mini plateau with a series of deciduous trees that still had snow and/or hoarfrost on the branches giving rise to this fantastic vista - as well as providing a great spot for lunch. 
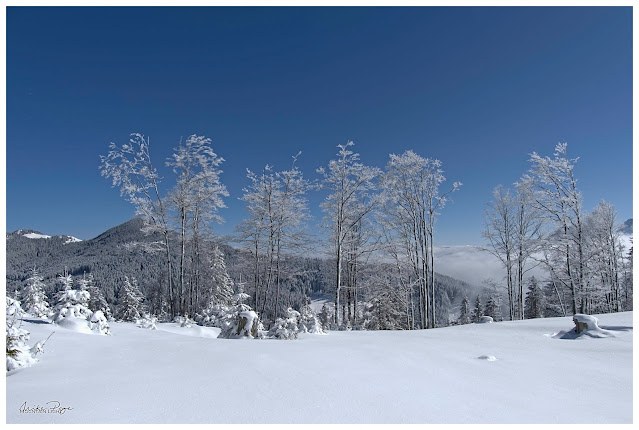
Ming Vase-Landscape ||  Olympus 12 mm, f/8, 1/1600 s, ISO 200
Sat opposite this vista for quite a while gave me plenty of opportunity to 'work the composition' as the profi's would put it, and I tried a number of approaches including two with some 'foreground interest', but as so often with these scenes for me, I found the best image to have been my first 'instinct' shot when I arrived at the scene. The others seem contrived somehow with the foreground detracting from the simplicity of the scene that this one conveys nicely rather than adding to it.
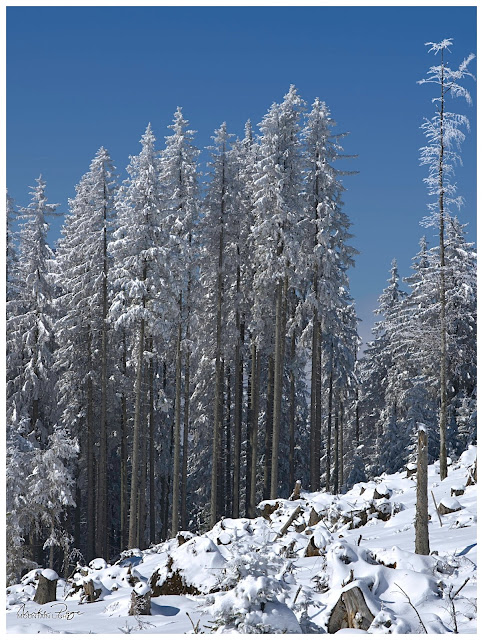
Long Pines ||  Olympus 75 mm, f/8, 1/1250 s, ISO 200
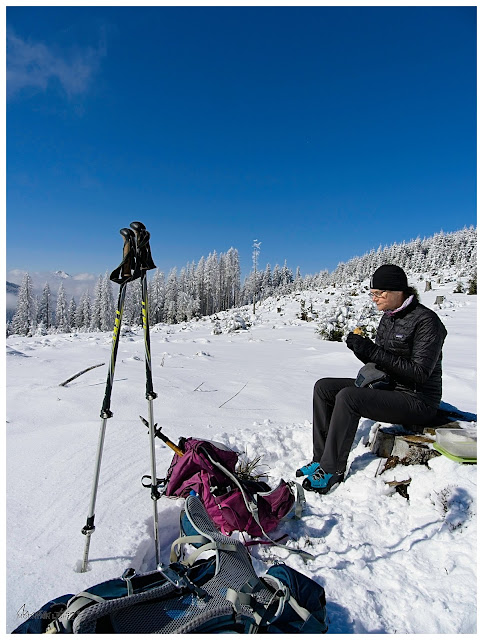
It was also nice light to catch a couple of rare up close shots of Sharon in her natural element - the mountains.
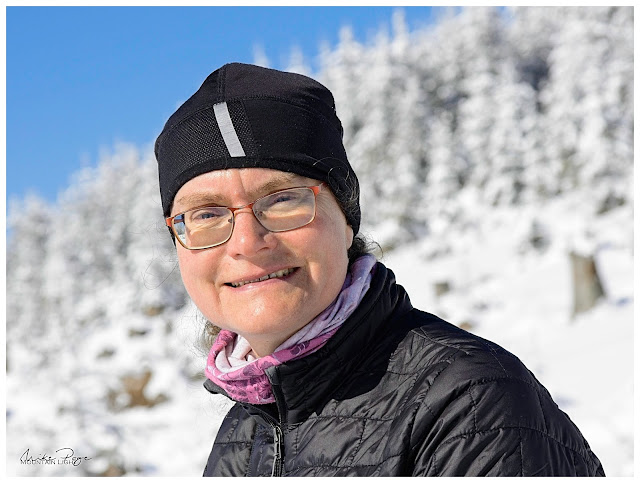
The Wife ||  Olympus 80 mm, f/7.1, 1/1000 s, ISO 200
Mahlzeit! ||  Olympus 12 mm, f/7.1, 1/2000 s, ISO 200
So that was our Saturday morning. What did you get up to, anything interesting?

Friday 5 June 2020

Moonshots - Getting the Shot and Post-Processing

Who doesn't want to take cracking images of the moon, our closest celestial object? We've all seen startlingly bright photos of the craters and then perhaps gone out to try to make our own and come back disappointed with black photos containing a bright, blurry smear in the middle. With a little bit of know-how and a decent-length lens it's not too difficult to get images that will stun our friends. There are two important steps: getting the images in the camera and then processing the pictures on the PC. 

Moonrise over the Allgäu || Olympus f/8, 1/1250 s, ISO 200


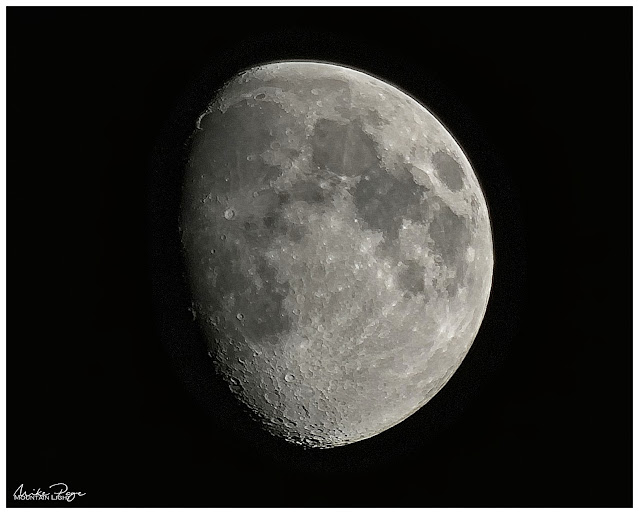
Some phases of the moon are definitely more photogenic than others. When the sun hits the moon obliquely, like here at just after half moon, the shadows on the craters are longer and stand out more. At full moon the sun is full-on and the shadows shrink. This was one of those 'oh wow' moments that I knew I had to capitalise on. We were sitting outside at a restaurant in the mountains when one of the kids noticed the moon rising over the hillside. I had to dash to the car to grab my telephoto lens and was able to capture this image before the moon became too high above the hillside.

Getting the Images

All the images in this article were taken using my Panasonic Lumix 100-300 mm lens at the long end on my Olympus E-M1 Mk II, a micro four thirds camera, making this equivalent to a 200-600 mm lens in 35 mm terms. Without image stabilisation we need to watch out for the shutter speed / focal length rule (maximum shutter speed = 1/ focal length; for a 500 mm lens, for example, the max shutter speed should be 1/500 s). 

The next challenge is getting the exposure right. Most cameras are set to evaluate the exposure over the whole image, combine this with some intelligent guess-work and provide you with what your camera thinks is a suitably exposed image. So for an image of the moon your camera sees a bright spot - even at 600 mm FF equivalent we're talking about an area that probably takes up less than 5% of the image - against a dark background and will try to provide you with an images that balances the light and dark.

Exposure

So we have to trick the camera or even go to manual. If you know how to adjust your exposure with exposure value (EV) adjustment - experience tells me that setting your camera to -3 EV should give you a decently lit image. Alternatively, you can go manual. The night images were taken at 1/640 s at f/5.6 and ISO 200 on my Olympus. You could try starting from there and adjusting the exposure as needed.

Even though you can hand-hold these shots, there is one significant advantage to sticking your camera on a tripod; aligning your images in post will be much easier.

Focus

Sticking your camera on a tripod also makes focusing your shot easier, and I really would recommend slipping into manual focus for this to be on the safe side. If your camera allows you to magnify around the focus point then use this, in fact use every trick you can to get the image as sharp as you possibly can. Don't leave anything to chance. What you'll notice is that the moon won't stay still on your camera display. Don't worry, your camera isn't slipping on the tripod mount (well, it might be, but not necessarily). What you're seeing is the moon moving in relation to the earth.

Multiple Exposures

Why images and why align them? Because a single image isn't going to give you much of an picture. In fact, you're going to want to grab at least about 50 images. This will give you enough to generate a mean image in post (colloquially and mathematically) reducing noise and sharpening the image. The atmosphere is full of convection currents, particularly in the summer, which will muddy your image.

Processing the Images

Ok, so the fun part is over, now the work begins. First we need to do a little bit of basic editing in your post-processing software of choice. I make no apologies for using a slightly obscure programme for mine; ON1 Photo Raw 2020 instead of Lightroom or Photoshop for the same reason I make no apologies for shooting with an Olympus rather than Canon, Nikon or Sony. They're informed decisions that I made and stand by - I've never been afraid of going down the road less travelled.

Initial Processing

Import your RAW images into your processor of choice and select the images from your series. Most image processing programmes allow you to apply the settings you apply to one photo to a series of photos, so you can hopefully just edit one and cascade to the other images. Crop your image to the final size you want for the image, allowing room around the edges for a final crop. You may want to increase the basic exposure and clarity, but don't over-do it and leave the noise reduction for now, we'll get back to that later.  Apply the crop and adjustments across the whole series and export them all to tiff or jpeg files in a dedicated folder for stacking.

Image Stacking

You will probably have noticed that your photos are a little muddy, a little unclear. That's perfectly allowable; your subject is at least 384,000 km away and you're shooting through 480+ km of air. That air is seldom clean and often full of convection currents, making matters worse. Stacking your images will give you a mathematical mean image, reducing image noise and sharpening the details.

The software I use is a free programme called RegiStax 6 and can be downloaded from the website here. The programme will first align the various images - like I said, the moon will be in a slightly different place each time due to the relative motion of the earth and its satellite. Before the images can be averaged, they need to be lined up. After that, you can select what percentage of the base images you want to use for the averaging before stacking.

Rather than list the specific steps I used and palm them off as my own, I'll point you to the Sarah and Colins Astro YouTube video that I followed verbatim. After aligning the images, there will still not be much difference from the original until you adjust what the programme calls 'wavelets'. Then the magic happens and the crisp image begins to reveal itself. 

I had problems using tiffs; firstly the tiffs I generated from ON1 weren't recognised by RegiStax. The tiffs from Olympus Workspace were recognised, but the resulting image had a lot of digital noise. My best results were from Olympus RAW files exported to jpeg in ON1 Photo Raw. The output from RegiStax can be saved in any of the usual formats, though if you've used jpeg as the starting point for stacking, you possibly won't gain anything by saving the output in any of the information richer formats.

Final Processing

Now it's time for the last polish. Re-open the image in your image processing software. It's likely to have quite a bit of noise in the smoother parts of the image and it's now time to deal with that and any other adjustments you might care to make.

In ON1 I dealt with noise using Luminance 2020 Noise reduction, setting Luminance to 30 and Detail to 5. Your mileage will of course differ. I loose a little bit of detail like this, but it's a sacrifice I'm prepared to make to get rid of the unsightly noise.

Watch the craters at the bottom of the moon as well as the noise in the Sea of Tranquillity (the darker patch towards the top).


Starting Image


After Stacking


After Noise Reduction


Layers

As a last step, you may want to assemble the final image(s) in layers. This will let you plant your final moonshot back in its environment as with my Moonrise over the Allgäu shot at the beginning of this article. I used this process to slightly magnify the moon in this scene to emphasise it. 

What Next?

If you found this tutorial useful, link to your final image(s) below, it would be great to see them. 

If you're still looking for a challenge? Go and take a look at Alyn Wallace's YouTube tutorial on taking gorgeous HDR images of the half moon.

I'll close with two more before and after pics taken later that evening from home to emphasise how much detail can be wrung out of these images. I had to add a gaussian blur to the background on the stacked image due to an ugly moire pattern, but that's trivial.


Later the Same Night: Before || Olympus f/5.6, 1/320 s, ISO 200

Later the Same Night: After || Olympus f/5.6, 1/320 s, ISO 200

Sunday 26 April 2020

An Homage to the Humble Dandelion

The Dandelion: the gardener's bane and the photographer's muse. A springtime delight turning green fields yellow and then grey. Some flowers are pretty but don't photograph particularly well. Others seem more mundane at first glance, maybe because we see them everywhere, but take a closer look and you'll see a different picture, whether flower or seed heads. 

A New Sun || Olympus f16, 1/1600 s, ISO 200

They inherently possess three elements that naturally make for strong images; both flower and seed head are complex yet repetitive. Repetitive patterns catch the eye and emphasise structures and light. The flowers are a cardinal colour, a bright solid yellow that stands out from any background - although they also lend themselves to monochrome conversion. Lastly, the seeds form a translucent globe that, from close and down low, give great pictures against the sky. 

Anthers || Olympus f10, 1/2000 s, ISO 800

Stripped of Colour || Olympus f10, 1/2000 s, ISO 800

Glowing Orb || f20, 1/500 s, ISO 200


Sometimes imperfection is also eye-catching, as with the half-finished dandelion clock. 

Perfect Imperfection || Olympus f16, 1/200 s, ISO500

Complex Perfection || Olympus f20, 1/160 s, ISO 640

Detail || Olympus f20, 1/100, ISO 1600
What looks like sepia conversions are in fact the natural colours straight out of the camera.

In a Field of their Own || Olympus f8, 1/1000 s, ISO 200

Globes || Olympus f16, 1/200 s, ISO 320

A lot of these images were taken lying prone in the field. For the real close-ups (I deliberately don't use the term "macro" as technically they're not) I used a +3 diopter magnifier screwed into the front of the Zuiko F4 12-100 mm, which even without help is a great near lens with a minimal focal distance of 7.5 cm. 

Against the Sun || Olympus f16, 1/100 s, ISO 200

Tuesday 14 April 2020

B&W Challenge

The Challenge


The lock-down seems to be fertile ground for photo projects and challenges, ranging from Joe Edelman’s much-publicised Stuck at Home series to Oddbjørn Austevik’s 1000 Step Challenge with many prominent proponents in between. They’re a great creative use of time, motivating us to hone our existing skills and perhaps pick up some new ones. And getting to know your gear well is always a good investment. I've spent some time with focus stacking* photos of snakeshead fritillaries that are growing in the garden and learned a lot about both the camera and the editing process.

Back in March the kids gave me Hoddinott and Bauer’s 52 Assignments in Landscape Photography for my birthday and I'd been looking forward to working through the book over the year and seeing what tips and tricks I could add to my toolbox, but a lot of the assignments require being out in, well, the landscape and that’s not so easy right now. Sure, I could shoot a panorama of the back garden, but who wants to see that?

*Focus stacking is a method of extending the depth of field to get more of the subject in focus, most often used in close-up photography and wide-angle landscape photography with close foreground. It involves taking multiple photos with various focal points from close to far and then assembling them  to one image using software (or in-camera).

Time for a Challenge || Olympus f7.1, 1/20 s, ISO 1600

I didn’t escape the challenge trend and was recently tagged on Facebook for a ‘Ten day 10-black and white photos describing daily life’ challenge, which I took up enthusiastically (thank you Silke). I’ve long felt that monochrome hasn’t really been my strong suit, but I recently watched a couple of videos on the matter online and wanted to try out some of the principles. Plus the photos had to be of everyday items, also something outside my normal photo-genre (gummybears notwithstanding - if you want to find out more check out #gummibeardiaries on Instagram - at the time of writing I was the only one using this hashtag, who knows, maybe it's taken off by the time you read this).

Daily Essentials || Olympus f8, 1/80 s, ISO 200

The trick with monochrome, so I’ve been told, is to almost fully edit your photo as normal, balancing the tones etc. and then do the monochrome conversion almost as the last step. For these still-lives (still-lifes?) I think this has worked pretty well. Depending on the subject matter I’ve tried to keep the depth of field quite low.

If you want the step-by-step on the ON1 edit, it was fairly simple. Here you go:

Develop:
  • Apply camera and lens correction in develop
Filters:
  • Big Softy Vignette at 50% opacity
  • Tone Enhancer set on Auto, opacity 100% (normally I would do this by hand , but I tried the auto function and found it gave me the look I wanted)
  • Border
  • Black & White Chrome, neutral colo(u)r response
Further Options:
  • Dynamic Contrast where appropriate to enhance detail
  • Lens Blur to reduce depth of field
  • Local edits as necessary

As you can see, I had a lot of fun with this project and I had eight of the images together within about two days without thinking about it too much. You can probably tell from the first two images that I'm a huge fan of wood grain and natural textures. I really liked the contrast here between the natural grain and the man-made objects. The last two photos took a bit longer and I had to wait for the muse to strike. I'd wanted to take a portrait of Chicco, the ginger tom that we acquired last year from a friend of a friend of a friend, but it turns out that he's camera shy, so I took this one of his sister Evi sitting in the cat tree, looking out the window. For all the complaints about noise in m4/3 sensors, these ISO 1600 shots are working out extremely well.

Evi watching the world go by || Olym-puss f8, 1/13, ISO 1600

Spontaneous or Planned?


Watching the modern photography gurus at the moment, a lot of them plan their photos down to the last detail; when the sun will hit a certain angle, precisely where to stand, checking the edges of your photo, etc. For a long time I’ve beaten myself up about this because this has not been my style; I’ve always been much more impulsive and spontaneous in my photography and studying the profis I felt that I was doing something wrong or that my photography was somehow second class.

Ascending || Olympus f13, 1/25 s, ISO 1600

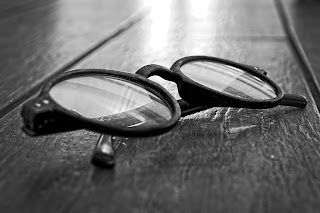
I took this next photo of my glasses on a tiled surface as part of the B&W challenge. Having slept on it, I felt that I had overshot the mark with the narrow depth of field, but I was otherwise quite happy with the shot, the composition and light really work for me. The original was one of a set of two or three hand-held shots where I played about with the focal point and height of the camera.

Reading Glasses Reflecting || Olympus f5.6, 1/50 s, ISO 1600

Having slept on the image, I thought there was something I could do to improve it. When processing I realised that I’d got a wedge of the white wall below the tiles and there were a couple of other ‘border’ issues. I also wanted to broaden the depth of field and try to catch an area of focus in the magnifying part of the lens of the glasses.

So I set up my tripod, aligned the camera carefully, cleared the clutter from the background, twisted the glasses to the optimal position, focused manually on the bridge of the glasses, performed an aperture run from f4 to f22, realised that I was on auto ISO and it was running at 1600, set the ISO to the native 200 of the camera, repeated the aperture run, opened the camera, realised that I was missing the main SD card from the camera and that I was shooting on secondary, searched the living room for the missing card, realised I’d left it in my T-shirt pocket that was in the washing basket, gone upstairs to check the washing basket to realise that my lovely wife had been ultra-efficient and that the washing was in the machine already, spotted the card in the front of the washing machine, put the secondary in the computer, checked the images...
...and was disappointed that none of the images had the same feeling of the original.

Aperture series with the Zuiko f4 12-100 at about 10 cm:

f4
f5
f6.3

f8
f10

f13

f16
f20

Lessons Learned


I think that some of this has to do with the emotion that I realise that I’ve been trying to convey with my photos - another lesson that I’ve been trying to build into my photography. That emotion is something spontaneous, revelling in the magic of the moment and not something that I can express when I plan a shot to death. So, two lessons for the price of one; I now know which aperture to use out of the starting block for close-ups and, perhaps even more valuable, I’ve learned that I don’t need to beat myself up about being a spontaneous photographer and not a planned photographer - that’s just my style.


Dandelion Closeup || Olympus f10, 1/2000 s, ISO 800

So thanks for laying down the gauntlet Silke. What about the rest of you? What tricks have you picked up during the lock-down.

Oh, and by the way, the SD card survived. Washed in de-ionised water and then dried it for 3 h in rice.

Ende (see what I did there?) || Olympus f4, 1/50 s, ISO 1600